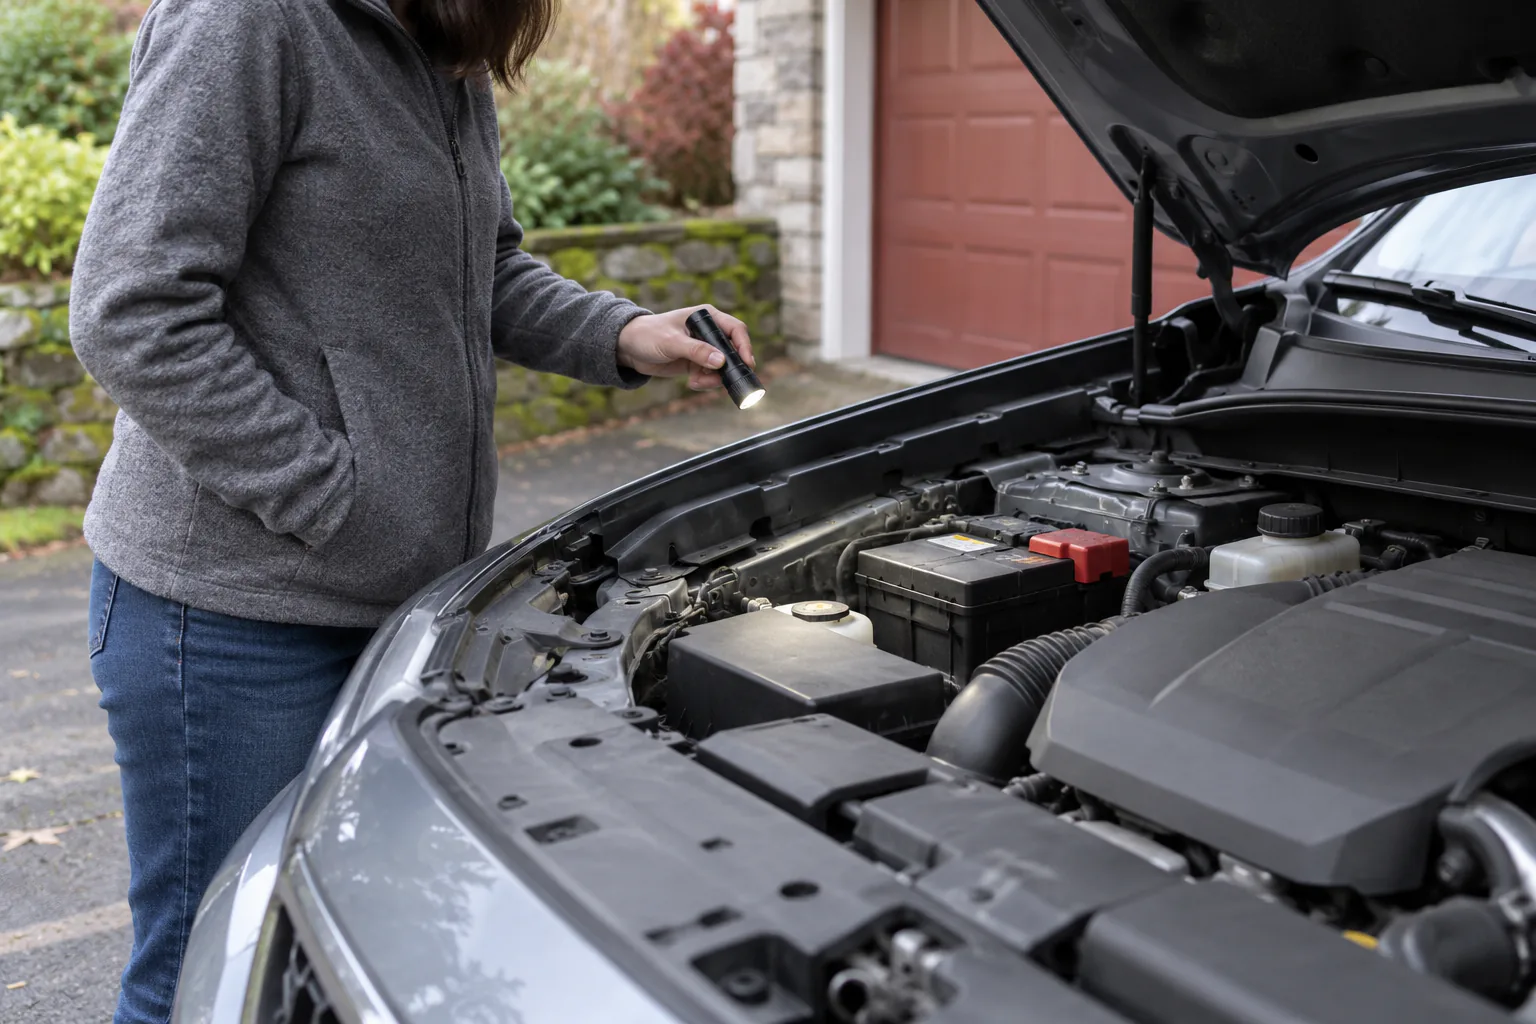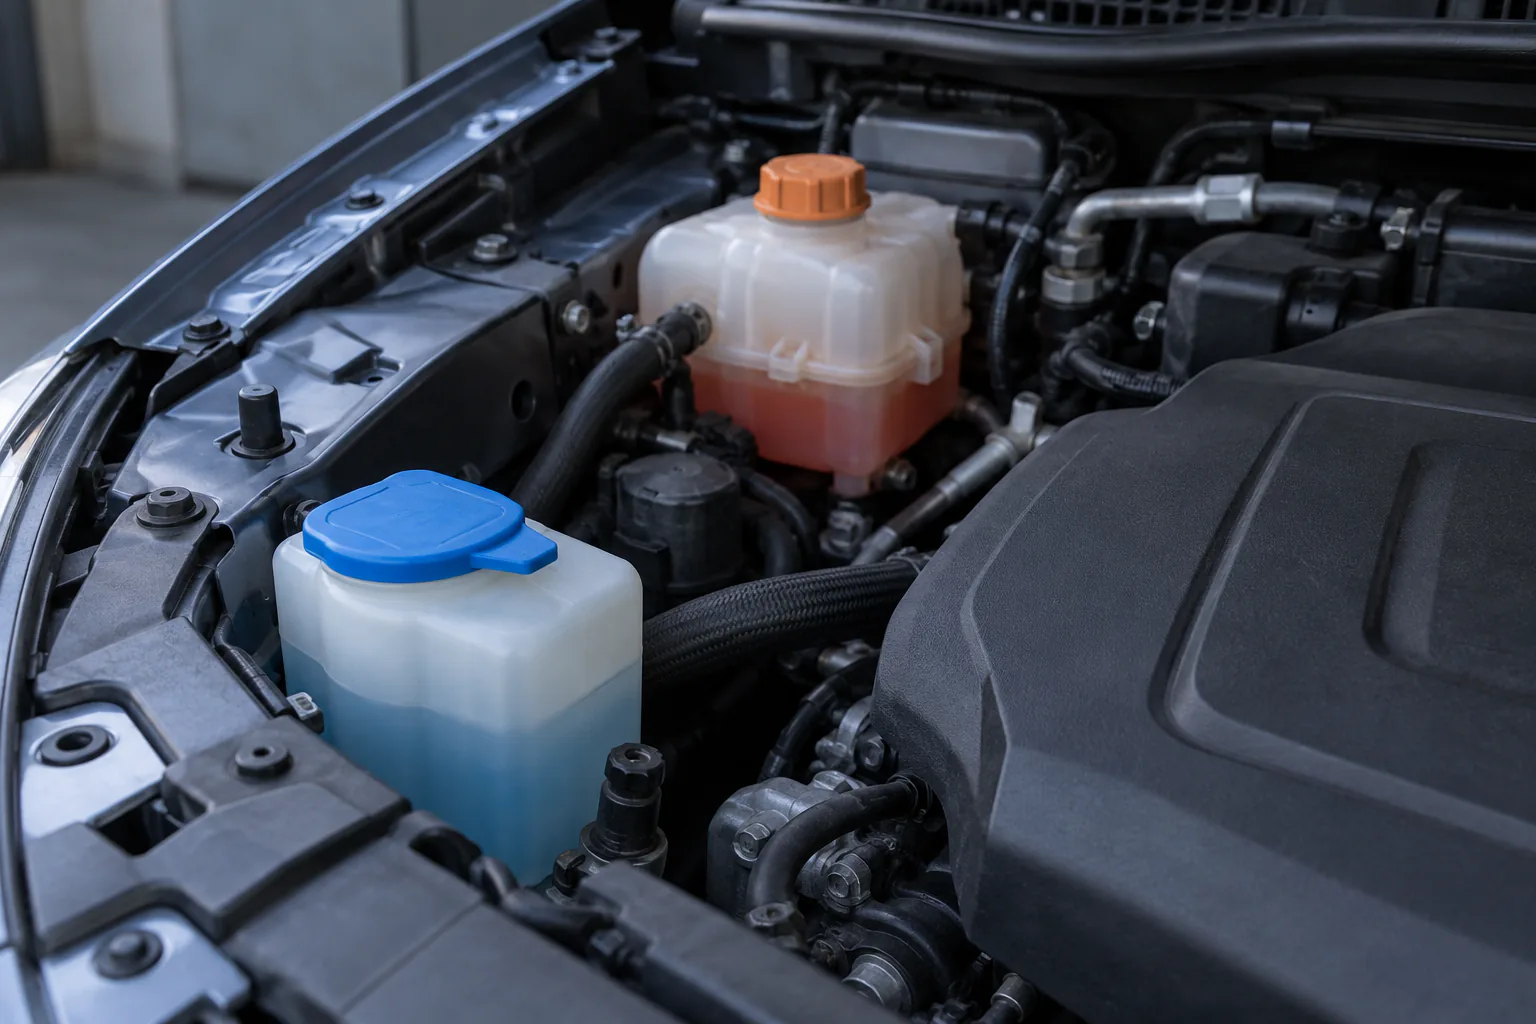
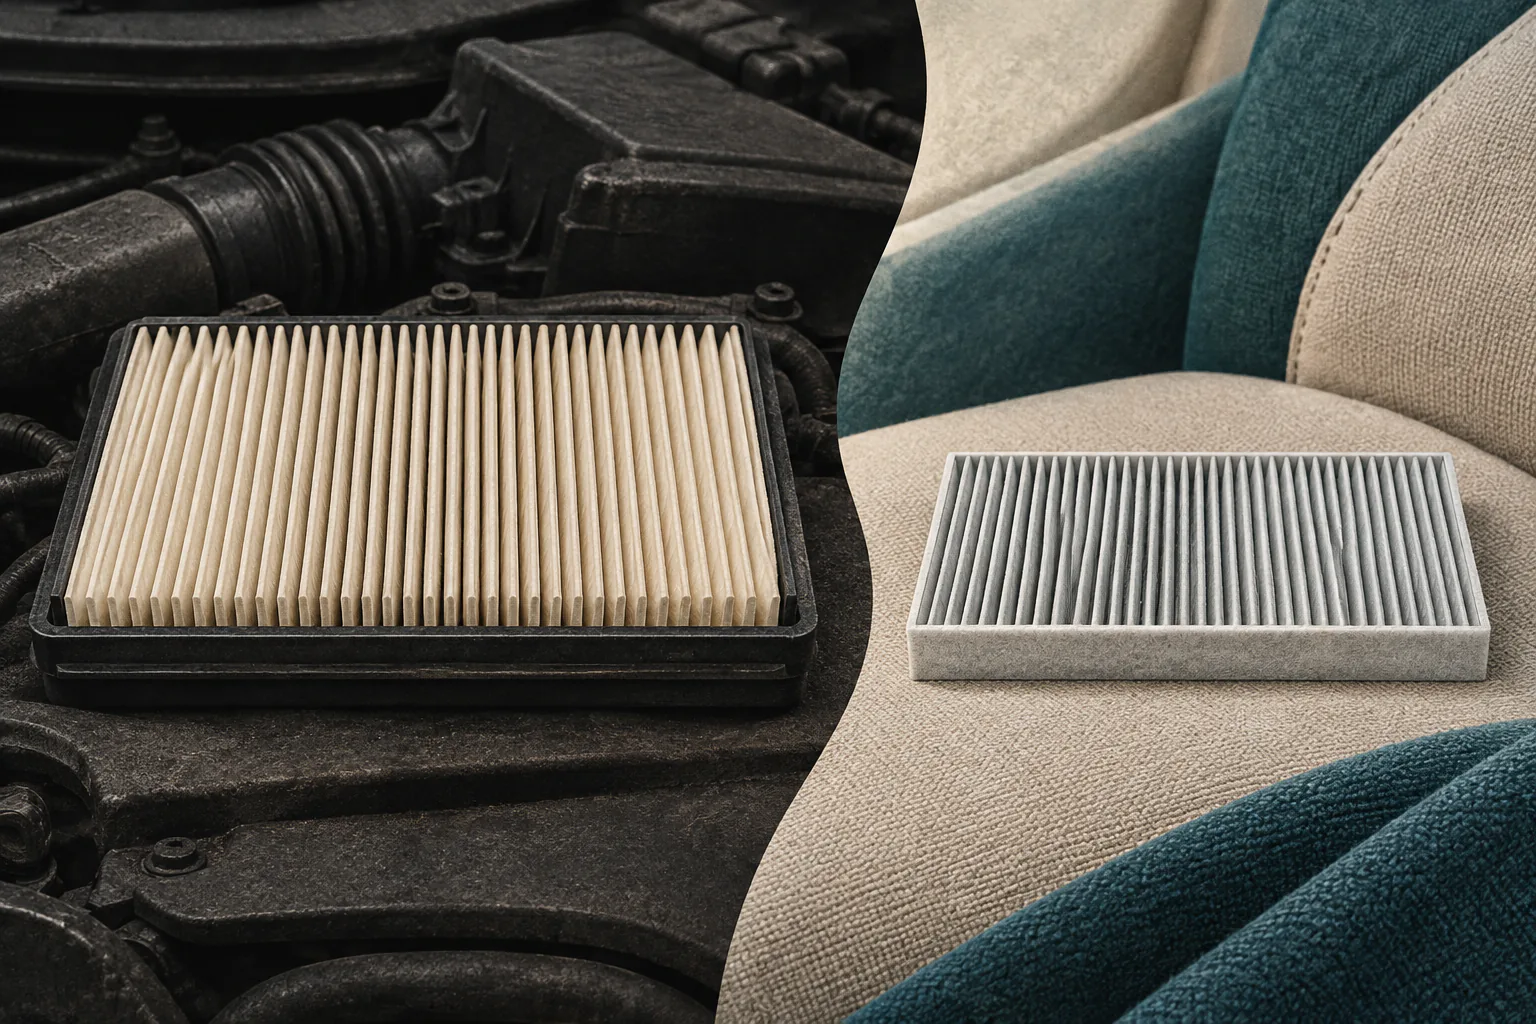
An engine air filter and a cabin air filter may use similar pleated media, but they protect different air paths. The engine filter cleans air entering the engine's intake system. The cabin filter cleans outside or recirculated air moving through the heating, ventilation, and air-conditioning system. Replacing one does not service the other.
The practical choice is not which filter is “better.” It is which system you are evaluating, what the exact vehicle's schedule says, and whether access makes the task suitable for an owner.
Function and air path
The engine air filter sits in the intake path before combustion air reaches the engine. Its housing may be under the hood, connected to intake ducting and sensors. Poor sealing or incorrect fit can allow unfiltered air into the intake.
The cabin air filter sits in the HVAC air path, often behind the glove compartment, below the dashboard, or near the windshield cowl. FRAM, a filter manufacturer, describes its role as reducing dust, pollen, and other particles entering through ventilation. Not every older vehicle has one.
Because FRAM sells filters, its interval and product claims should be treated as manufacturer material. The vehicle manual controls fitment, access, and replacement schedule.
Symptoms are clues, not proof
A restricted cabin filter can be associated with reduced vent airflow, odors, unusual blower noise, or slow clearing of windows. Those symptoms can also come from blower, door, evaporator, duct, contamination, or control problems. Replacing the filter is not a guaranteed air-conditioning repair.
An engine-filter concern may be discovered by schedule, inspection, damaged media, poor sealing, or an intake-system diagnosis. Reduced power, fuel-economy changes, or a warning have many possible causes. Do not diagnose an engine filter from a general symptom list.
For both filters, visible dirt alone needs context. Filter media can discolor while still functioning, and debris or damage may matter before a fixed interval. Use the manufacturer's inspection or replacement criterion.
Schedule and operating conditions
Consult the exact maintenance guide. Dust, construction zones, wildfire smoke, agricultural use, pollen, or other conditions may increase loading, but only the vehicle manufacturer defines its schedule branches. FRAM gives general replacement advice, yet that should not overwrite an OEM interval.
Record the last verified replacement, mileage, date, part number, and observed condition. If history is unknown, inspect only when the manual provides safe access. Do not mark both filters replaced because one receipt says “air filter” without identifying the part.
Access and DIY suitability
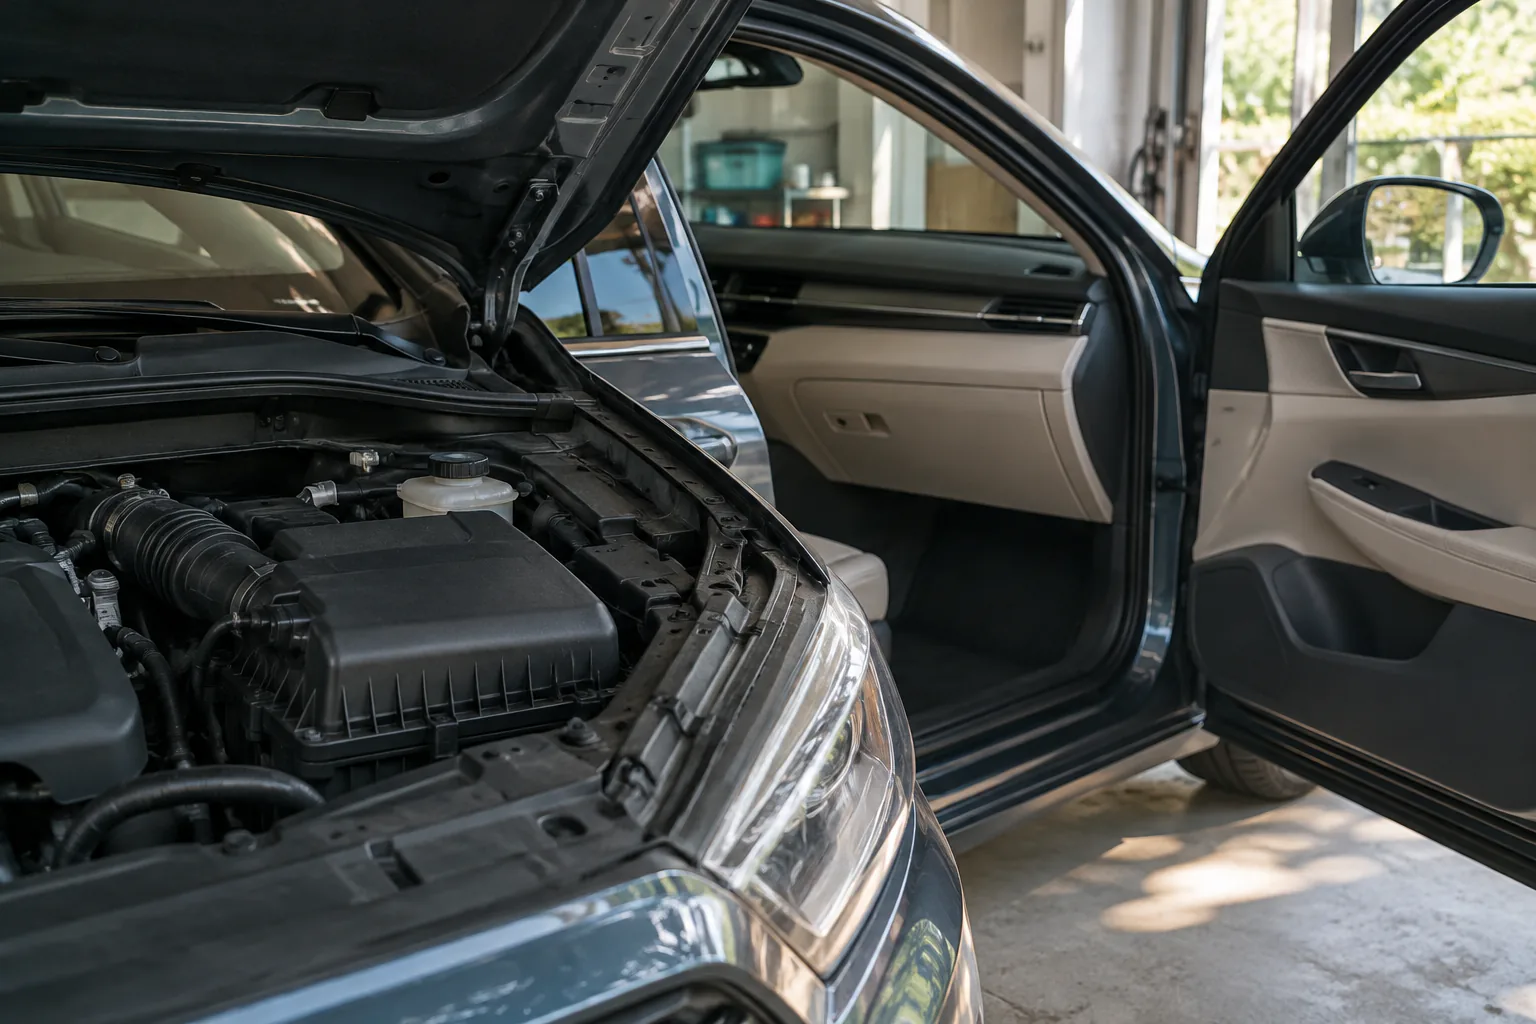
A cabin filter can be simple when the manual provides an owner procedure and the housing is accessible. Other vehicles require trim removal, damper disconnection, cowl work, or awkward positioning. Airflow and `UP` arrows mean different things; follow the filter and housing instructions exactly.
An engine air box may use clips or screws, but nearby sensors, wiring, ducts, hot parts, and sealing surfaces matter. Work only with the engine off and cool as directed. Do not start the engine with the intake open, drop debris into the housing, or force a filter that does not seat.
Stop if access requires removing unfamiliar electrical connectors, structural trim, high-voltage covers, or components beyond the owner procedure. A cheap part does not make every installation low-risk.
Fitment and installation checks
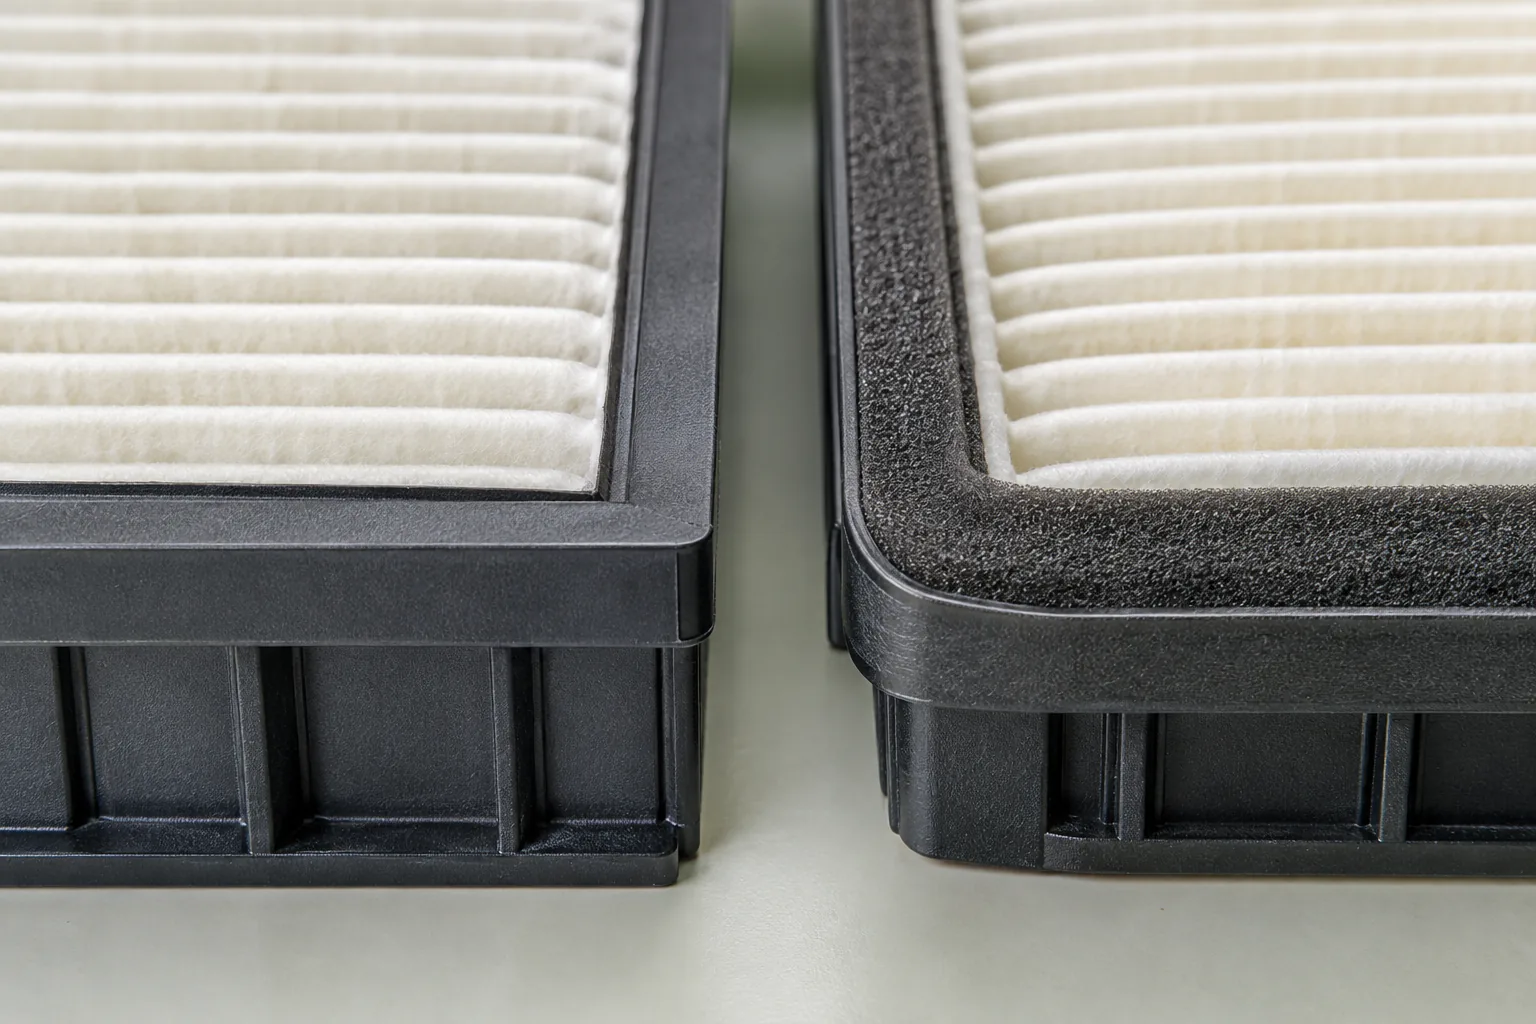
Confirm year, make, model, engine or powertrain, and part number. Vehicles sharing a model name can use different housings. Compare dimensions, gasket shape, pleat orientation, and tabs before discarding the old part.
Clean loose debris from the housing without pushing it into ducts. Do not use compressed air in a way that damages media or drives debris deeper. Seat the new filter evenly, follow arrows, close every latch or fastener, and verify that ducts and glove-box components operate normally.
For an engine filter, inspect the housing seal and reconnect anything the owner procedure required. For a cabin filter, test blower speeds and listen for contact or a loose door. A post-install warning, abnormal engine operation, strong new noise, or poor fit means stop and recheck.
Cost and environmental questions
Price varies by fit, media, brand, and labor. A premium claim such as odor reduction or very fine particle capture should be evaluated against independent evidence, airflow requirements, and vehicle specifications. Do not assume more layers are automatically better for every HVAC system.
Neither filter should be washed or reused unless its manufacturer explicitly designs and instructs it. Dispose of it according to local rules, especially if contaminated by oil, pests, mold, or hazardous dust.
Compare the same decision criteria
Use six columns when choosing an action: protected system, applicable schedule, observed condition, symptom relevance, access steps, and consequence of incorrect installation. This prevents an easy cabin-filter job from becoming evidence that an engine-filter job is equally simple.
For the engine filter, a poor seal can matter even when the media is new. Check the gasket path, housing closure, duct attachment, and nearby connector status through the approved procedure. For the cabin filter, orientation and housing closure affect airflow, while glove-box dampers and trim can be damaged by forcing access.
If a shop recommends both filters, ask for each schedule reference or inspection finding separately. One dusty filter does not prove the other is loaded, because their intake locations and air volumes differ. Request the old parts where permitted or clear photographs labeled by system.
If an online parts catalog lists multiple fits, do not choose by price or visual similarity. Confirm VIN or powertrain distinctions, production date where relevant, and the housing part number. A filter that can be forced into a compartment is not necessarily correct.
After-replacement problems
Weak cabin airflow that remains after a correct filter installation needs broader HVAC diagnosis. A new odor can come from wet media, contamination in the housing, drains, or another source. Engine warnings, rough operation, intake noise, or a loose air box after service require immediate rechecking before continued driving.
Do not stack two filters, remove a designed support screen, trim media, or leave a housing partially open to “improve airflow.” Correct fit is part of filtration.
Choose the right next action
Choose engine-filter inspection when the engine intake schedule or qualified diagnosis calls for it. Choose cabin-filter inspection when the HVAC schedule, airflow, odor, or verified access supports it. Choose professional service when access or diagnosis exceeds the manual's owner procedure.
The two filters share a name and little else. Compare them by protected system, evidence, schedule, access, fit, and installation verification. That prevents a common maintenance shortcut: replacing the easy filter while assuming the other system was addressed.