A useful car emergency kit is not the largest tote in the trunk. It is a small, accessible system built around the delays you could realistically face: waiting safely after a breakdown, becoming visible, contacting help, and caring for the people traveling with you until help arrives.
NHTSA recommends a roadside kit even for a well-maintained vehicle. Ready.gov likewise treats supplies as part of a wider plan, not a substitute for alerts, communication, or evacuation instructions. Start with those functions, then add climate and passenger modules instead of copying every item from a universal list.
Define the delay before buying gear
Write down four facts: the weather range, the roads you use, who normally rides with you, and how quickly roadside or emergency help could reach you. A short urban commute with strong phone coverage needs a different kit from a winter mountain route. A family carrying an infant, an older adult, or prescription medicine has needs that a solo commuter does not.
Also check the vehicle. Does it carry a spare, an inflator kit, or neither? Is a jack supplied, and does the manual actually permit an owner tire change? Is the vehicle electric, hybrid, or equipped with high-voltage components that rule out improvised electrical work? Gear is useful only when it matches the vehicle and the user's training.
1. Communication and navigation
Put a compatible charging cable and a charged power bank where they can be reached from the cabin. Keep roadside-assistance and insurance details available offline, along with an emergency contact. A paper map or printed route summary can back up a phone when service or power is unavailable.
Before a longer or remote trip, tell someone the route and expected arrival time. Check weather, road closures, fuel or charging stops, and coverage gaps. These planning steps may prevent an inconvenience from becoming a prolonged wait, while a phone alone cannot guarantee reception.
2. Light and roadside visibility
Pack a flashlight or headlamp and inspect its batteries. Reflective triangles or another lawful warning device can help other road users see a stopped vehicle. Local rules and the roadside environment matter: never step into moving traffic to place a warning device, and do not use a flare where fire, fuel, weather, or storage conditions make it unsafe.
A reflective vest can make a person easier to see, but visibility equipment does not turn a narrow shoulder into a safe workspace. If leaving the vehicle would expose you to traffic, remain in the safest available location and follow emergency-service instructions.
3. People-first supplies

Keep a basic first-aid kit and learn how to use its ordinary contents before a trip. Add drinking water and nonperishable food appropriate to the expected delay and passengers. Rotate both rather than forgetting them for years. Medicines need a passenger-specific plan that respects prescription instructions, temperature limits, and expiry dates; the trunk may be unsuitable for heat-sensitive products.
Add work gloves, paper towels, a rain layer, and a change of clothing. A blanket or warm layer belongs in cold-weather travel, while sun protection and more water planning matter in heat. Include necessary infant, disability, older-adult, or pet supplies. These additions support comfort and basic needs; they do not make extreme temperatures safe or replace emergency medical care.
4. Vehicle-related items
A tire-pressure gauge is compact and useful when paired with the pressure label and the correct checking method. Jumper cables or a portable booster may be appropriate only if the owner manual permits the procedure and the user can follow the exact connection sequence. Damaged batteries, unfamiliar terminals, and hybrid or electric systems are reasons to call for help.
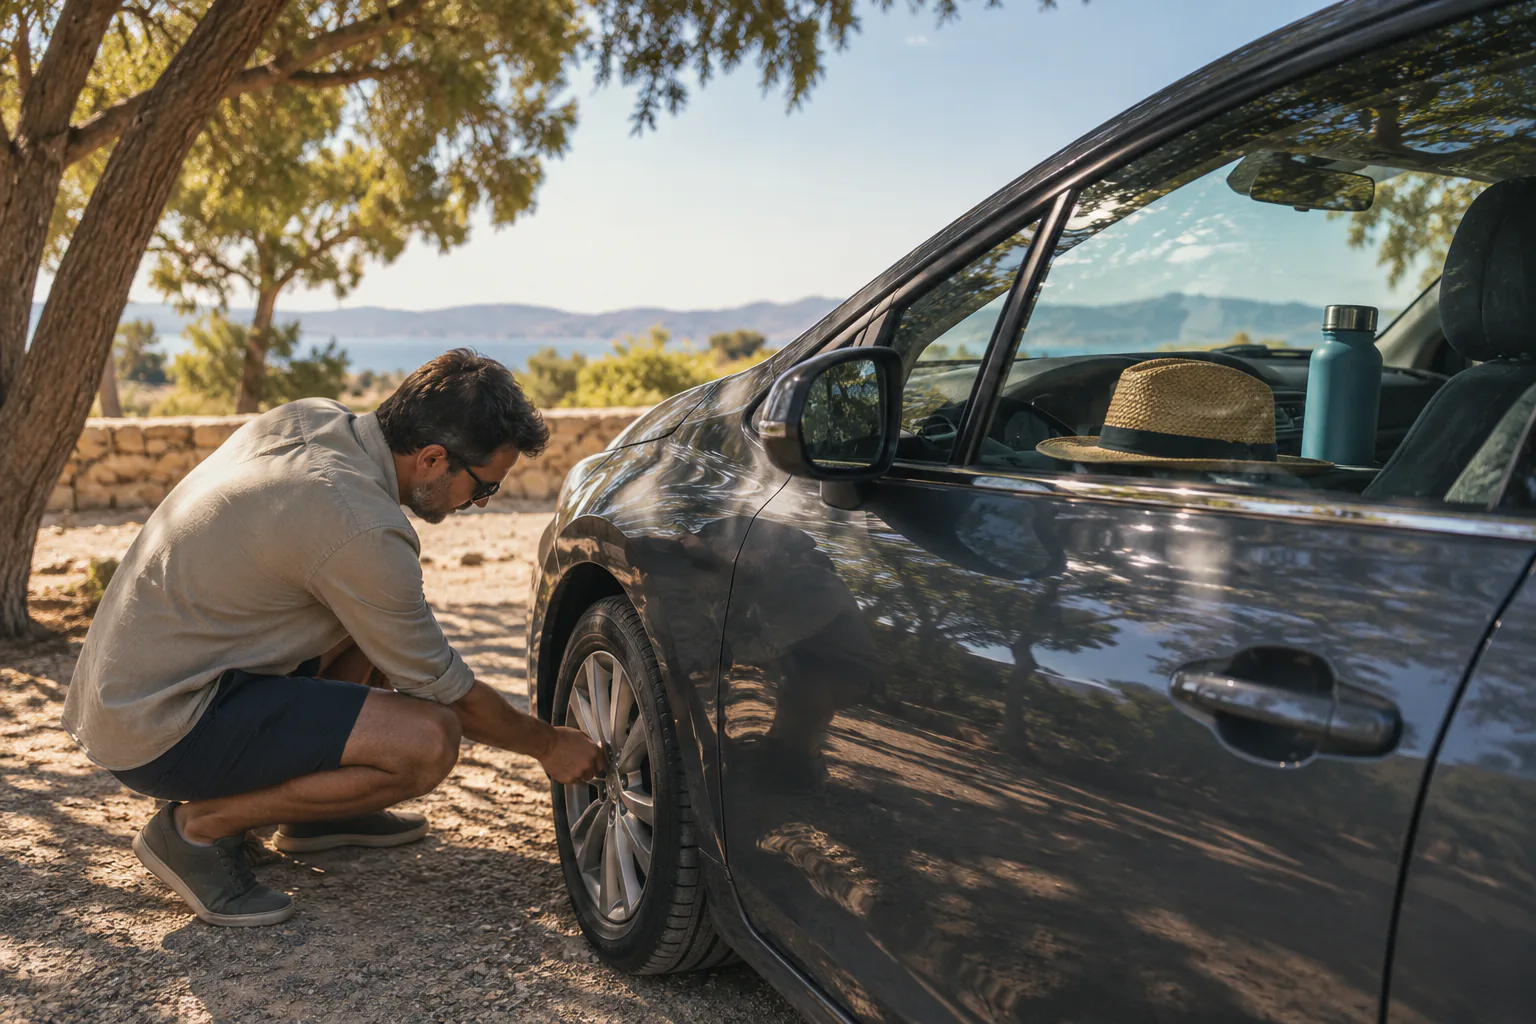
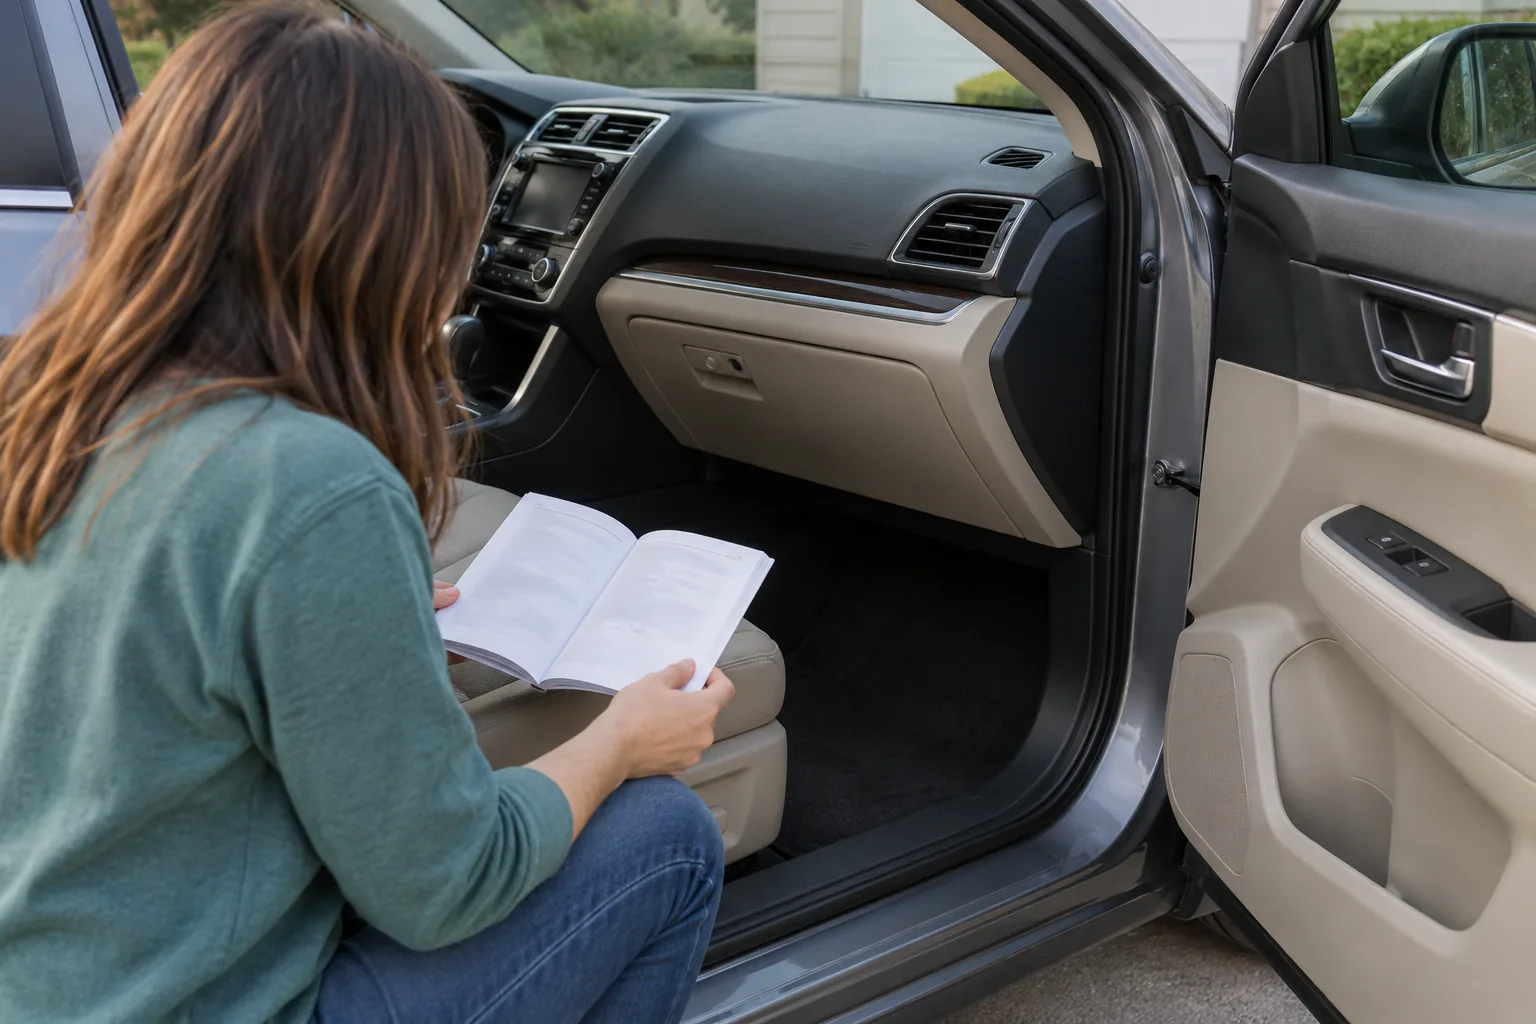
Carry the vehicle manual or an offline copy. If the vehicle has a spare, confirm that the supplied tools are present and that the spare is maintained. Do not add a jack or tools on the assumption that carrying them makes roadside work safe. Soft ground, traffic, slopes, weather, and lack of training can make a tire change unsuitable.
Commercial checklists often include tape and general tools. Treat those as optional capability items, not promises of repair. A temporary roadside improvisation can conceal damage or create a new hazard. Roadside assistance is often the better tool.
5. Build seasonal modules
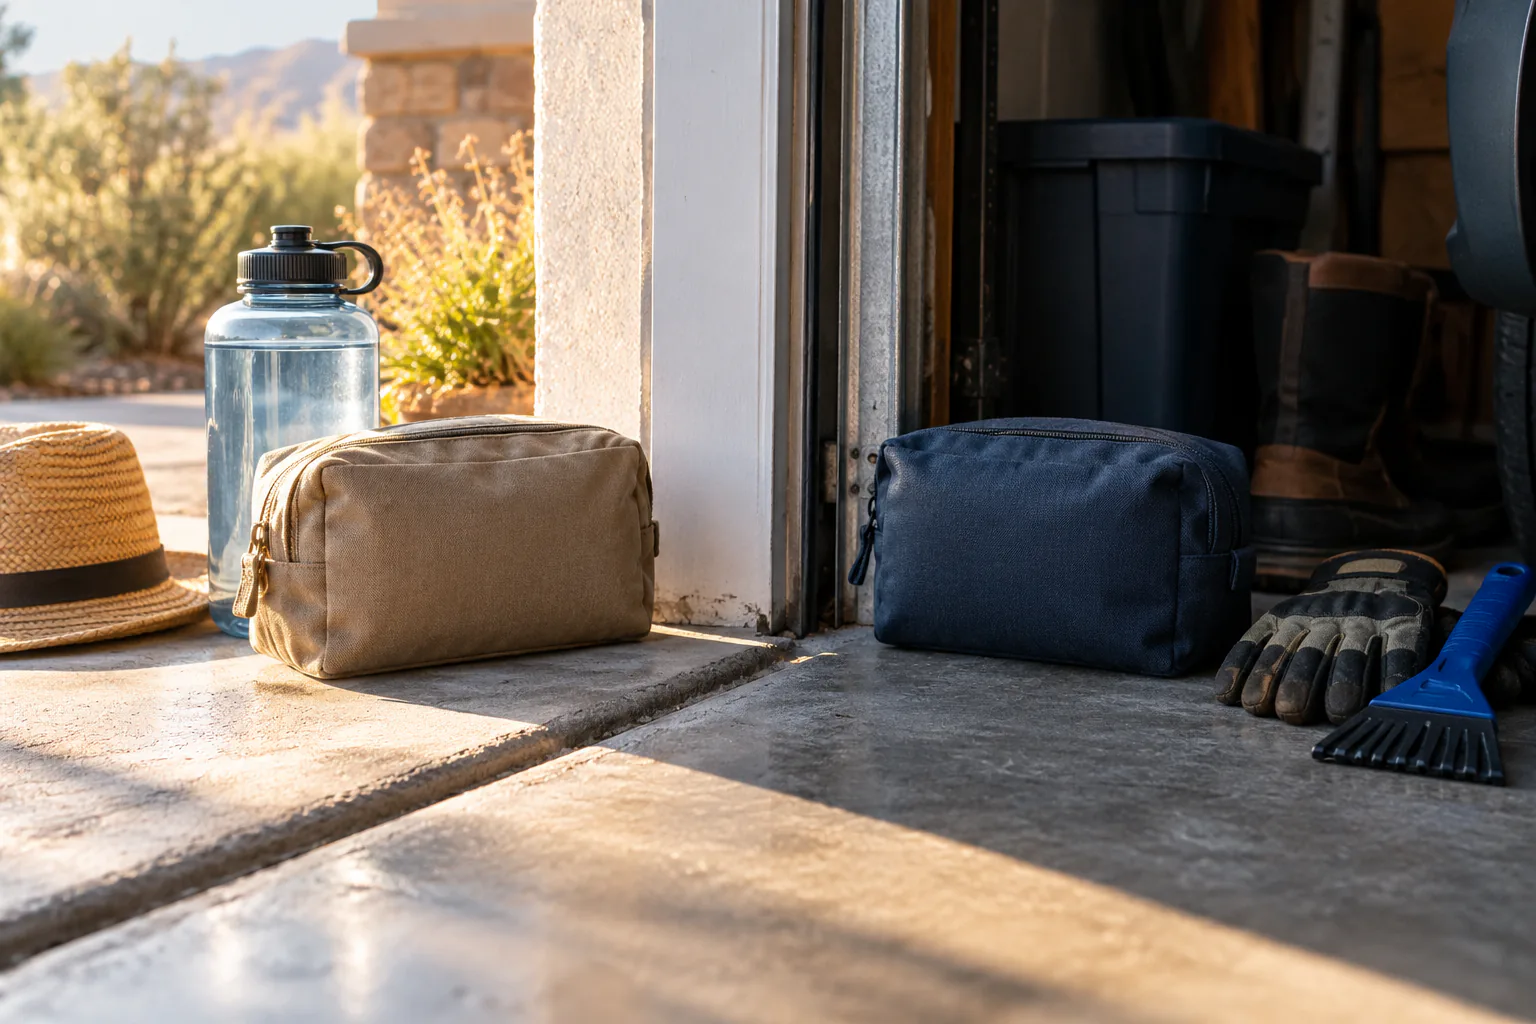
For winter travel, consider an ice scraper, snow brush, shovel, traction material, extra warm clothing, and weather-appropriate washer fluid. Tire chains belong only where required or permitted, in the correct size, with the vehicle manufacturer's clearance rules understood before travel. Practice should occur in a safe setting, not during a storm on a shoulder.
For hot-weather travel, prioritize water planning, sun protection, a working phone, and verified air-conditioning performance before departure. Never leave a child unattended in a parked vehicle. Hot weather can also shorten the safe storage life of batteries, food, medicine, and adhesives, so a summer module needs inspection rather than permanent neglect.
For heavy rain or flood risk, add rain protection and route information, but do not treat supplies as permission to enter flooded roads. Turn around when directed and follow local emergency guidance.
Store and review the kit
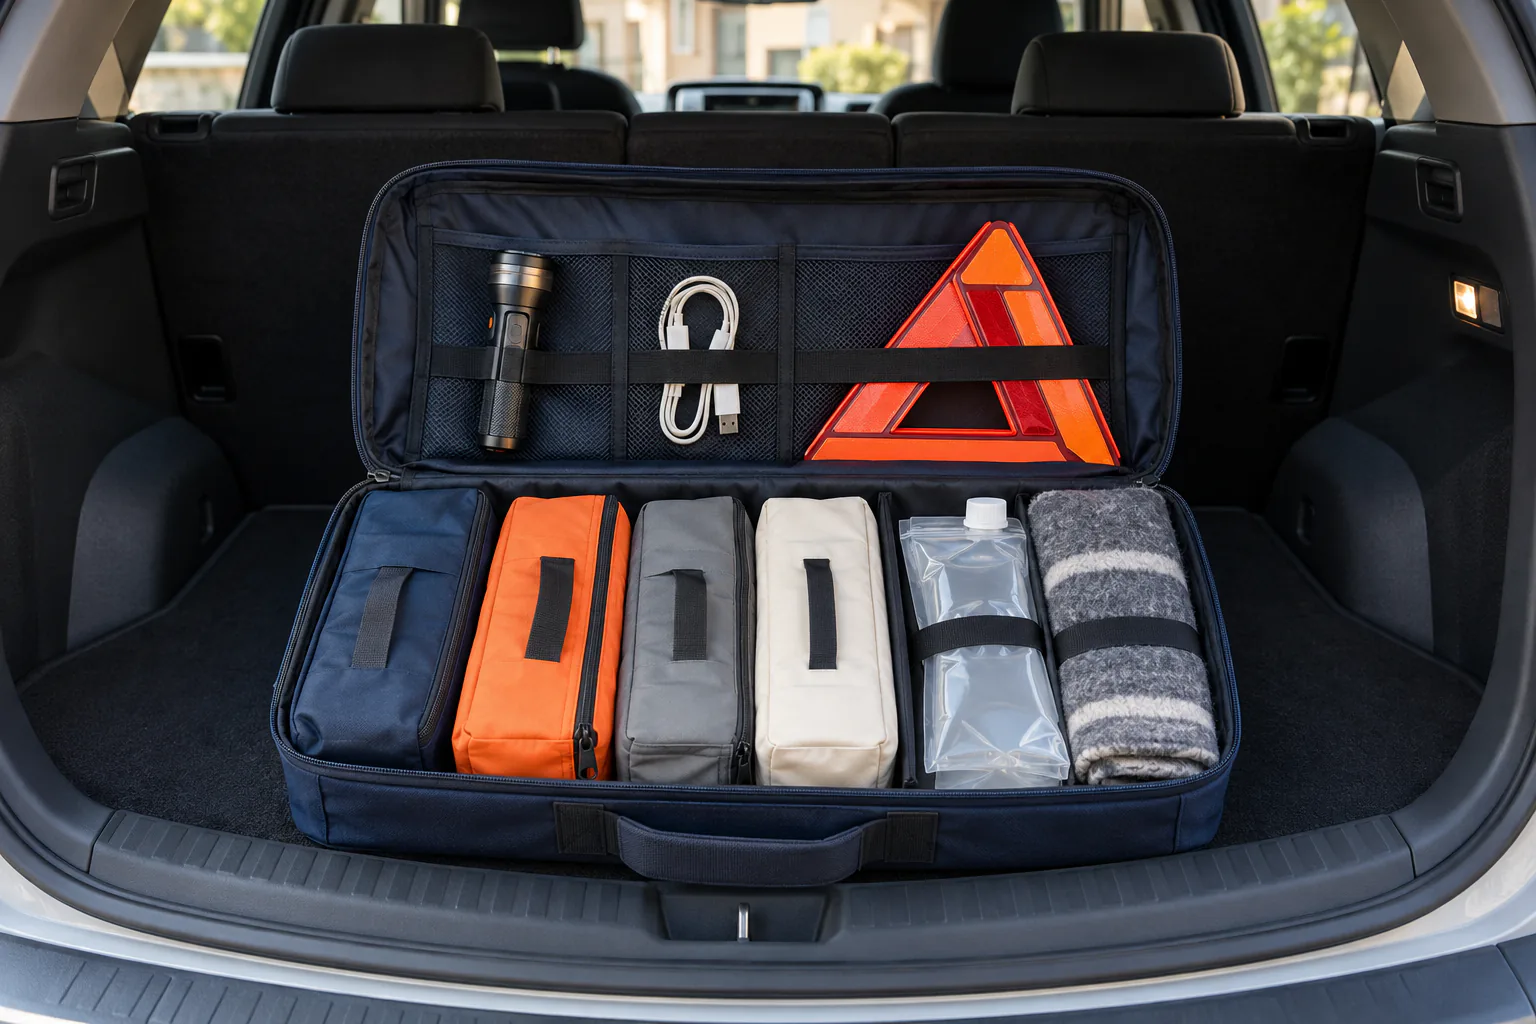
Use labeled pouches: communication, visibility, people, vehicle, and seasonal. Secure the container so it cannot become a projectile, while keeping critical contact and visibility items reachable. Do not bury everything under luggage.
Review the kit before major trips and at seasonal changes. Charge power banks, test lights, inspect packaging, rotate food and water, check medicine instructions, and replace expired or heat-damaged items. Update clothing sizes and passenger needs. Confirm that roadside membership and insurance contacts are current.
An emergency kit cannot compensate for an unsafe vehicle, a serious warning light, a hazardous route, or severe weather advice. Maintenance, trip planning, safe stopping, and timely calls for help remain the main system. The kit's job is narrower: help you communicate, stay visible, and support passengers during a delay without encouraging risky roadside repairs.
Test the system with a parked, non-emergency drill. Ask whether every regular driver can find the flashlight, contact details, first-aid kit, reflective equipment, and manual without unloading the trunk. Confirm that passengers know whom to call and that nobody mistakes high-voltage components, a pressurized cooling system, or a traffic-exposed tire change for a routine kit task. Fix access and labeling problems while conditions are calm.