

Replacing a cabin air filter can be a low-risk owner task, but only after the vehicle proves it is a suitable DIY job. Some filters sit behind a simple access door. Others require trim removal, unusual fasteners, movement near wiring, or service steps that are easy to damage. “Cabin filter” does not mean “always behind the glove box” or “always tool-free.”
The safest procedure begins with the exact model-year manual or manufacturer service instructions. The filter maker can help confirm fitment, but vehicle instructions control access, orientation, and reassembly.
Pass the DIY eligibility gate
Identify the model year, make, model, body style, and relevant trim. Search the owner manual for “cabin air filter,” “air conditioning filter,” or “pollen filter.” Confirm the location, required tools, access sequence, and any warnings. If the manual does not describe owner replacement, look for an official manufacturer procedure or schedule professional service.
Stop before starting if access requires removing major trim, working near an airbag label or connector, disconnecting electrical components, or forcing a panel you cannot identify. Also stop if the procedure calls for special tools, calibration, or steps beyond your comfort. A five-minute filter job on one vehicle can be a different repair on another.
Two common layouts illustrate why verification matters. Some vehicles use a door behind a glove compartment that lowers after specific stops or a damper are released. Others place the filter under a cowl or a separate access cover. The existence of one layout on a familiar car is not evidence that your car works the same way.
Confirm the exact replacement
Use the vehicle application data, part number, dimensions, and filter shape. Compare more than a marketing description. If possible, cross-check the vehicle manufacturer listing and the filter manufacturer's fitment catalog. A filter that is slightly too tall, too narrow, or incorrectly framed may not seal or may damage the access cover.
Do not assume every arrow means the same thing. A filter may be marked with an airflow arrow, while another label may indicate which side faces up. Determine the vehicle's airflow direction from the official procedure and follow the replacement filter's labeling. Photograph the old filter's orientation before removal, but do not treat an incorrectly installed old filter as authoritative.
Prepare a clean access area
Park safely, switch the vehicle off, remove the key or secure the keyless fob, and follow any manual instruction about power state. Empty the glove compartment or nearby storage area so objects cannot fall behind trim. Use clean hands and a soft towel to protect finished surfaces.
Keep the new filter sealed until the access area is ready. Have a small bag available for the old filter. Take a wide photo of the starting condition and close photos of clips, stops, and the cover. Those images are a reassembly reference, not permission to pull harder.
Open only the documented access points
Follow the exact order for the vehicle. Support a glove compartment as its stops are released. Move a damper only if the procedure identifies it and shows the direction. Press tabs or remove fasteners as instructed; do not pry an unlabeled seam or use a metal tool on soft trim unless the manufacturer calls for it.
If a clip does not release with the described motion, stop. Recheck the instructions, lighting, and component identity. Hidden screws, a missed stop, cold brittle plastic, or the wrong procedure can turn a maintenance task into a trim repair. Never disconnect a yellow or otherwise marked restraint-system connector.
Remove and compare before installing
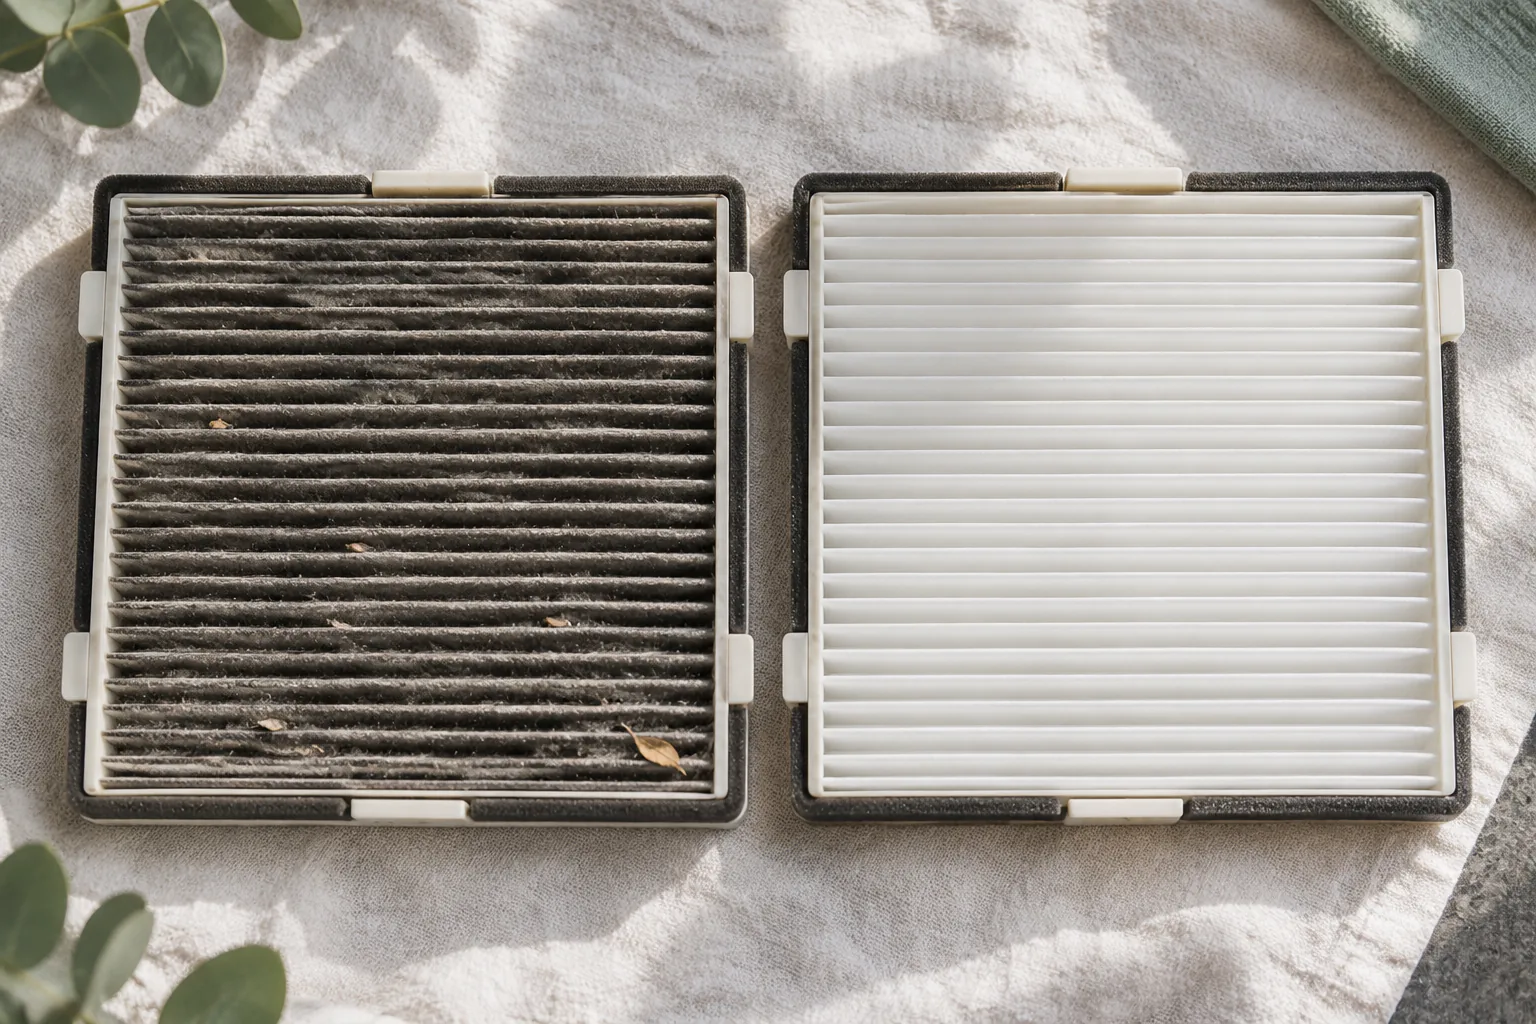
Note the filter's orientation and pull it out using the method shown for the vehicle. Some access openings require a controlled fold or slight compression that the replacement design supports; others should accept the filter without distortion. Do not cut the old or new filter to make it pass through an opening.
Place old and new side by side. Compare length, width, depth, frame, tabs, sealing edges, and printed orientation. A dirty old filter does not prove that odor, weak airflow, or noise will disappear after replacement. Those symptoms can have other causes, and debris beyond the accessible housing may need professional attention.
Do not reach deeply into the housing, spray cleaner inside, or use compressed air. The blower, evaporator, sensors, and wiring are not cleaning targets in this procedure. Remove only loose debris when the official instructions explicitly allow a safe accessible method.
Install, restore, and verify
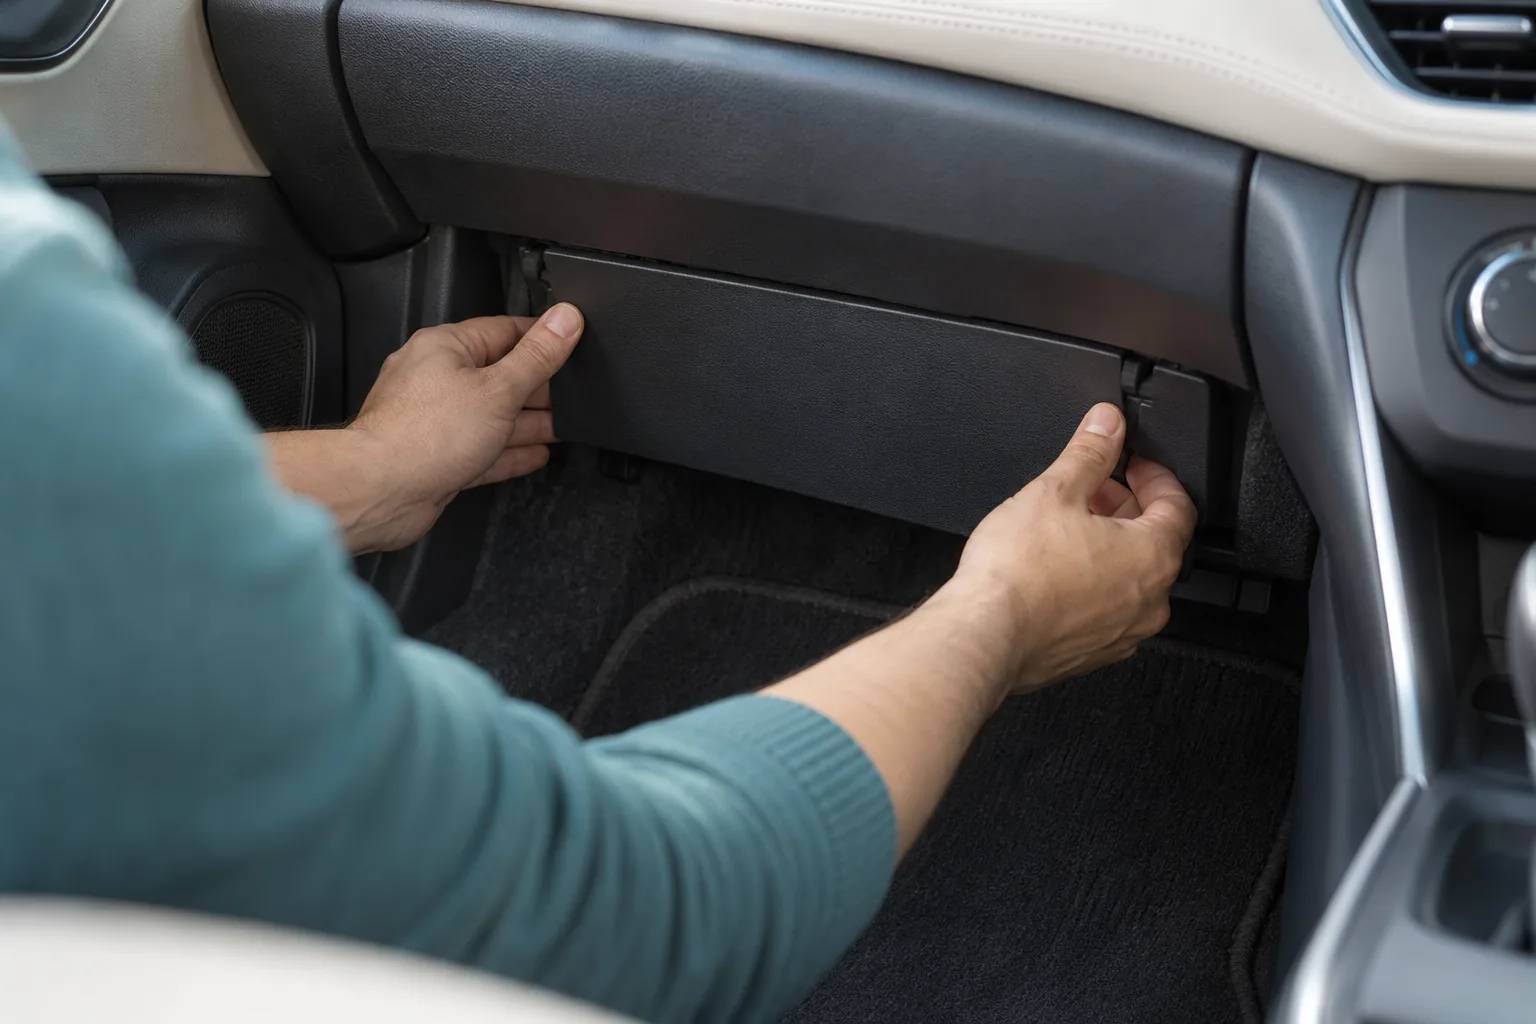
Orient the replacement according to the vehicle airflow and filter label. Slide it into place without crushing the media or rolling a sealing edge. It should sit fully within its guides. Refit the cover and confirm every tab or fastener is engaged before restoring the glove compartment or trim in reverse order.
Check that storage doors open and close normally and that no contents obstruct them. Start the vehicle only after reassembly. Run the ventilation fan at a low setting and listen for a new rubbing, flapping, or clicking sound. Check airflow from several vents. Stop the system if a new noise appears, then recheck seating and the cover rather than increasing fan speed.
Recover when something does not fit
If the filter will not seat, compare part numbers and dimensions again. If the cover will not close, do not clamp it over a distorted filter. If trim no longer aligns, return to the last correctly photographed step. Reinstall the old filter only if it is undamaged, its orientation is known, and doing so is safe; otherwise protect the open housing and arrange service.
Record the date, mileage, replacement part number, fitment source, and result. Set the next reminder from the vehicle schedule and operating conditions, not a universal interval printed in an advertisement. Dust, smoke, construction, and heavy HVAC use may justify inspection under manufacturer guidance, but inspection evidence and the manual should drive the decision.
The finished job has a simple standard: correct part, correct orientation, undamaged trim, fully closed housing, and normal fan operation. If any one of those is uncertain, the right DIY action is to stop and get the vehicle-specific answer.
Keep the purchase receipt or a photo of the package with the service record. Part catalogs change, and a recorded brand number alone may not identify a revised fitment later. Also note whether the vehicle had one filter, two stacked elements, or a separate prefilter, but only when the official procedure confirms that layout. This makes the next service verifiable instead of dependent on memory.