Windshield-wiper replacement looks universal until a hidden wiper arm, unfamiliar connector, or spring-loaded arm reaches the glass. The safe approach is to verify the exact blade and vehicle procedure, protect the windshield, and replace one blade at a time. Do not begin by pulling on the first plastic tab you see.
NHTSA recommends inspecting blades for wear and deformation before travel. Streaking can also come from a dirty windshield, contamination, ice, or a damaged arm, so confirm that blade replacement is the appropriate next step rather than assuming every visibility problem has the same cause.
Verify fit before lifting an arm
Identify the vehicle's year, make, model, body style, and trim. Check the owner manual for wiper replacement, service position, winter use, and rear-wiper instructions. Some modern arms park below the hood edge and must be moved electronically or within a short time after switching the vehicle off. Pulling a hidden arm upward can strike the hood or damage the mechanism.
Confirm driver-side, passenger-side, and rear blade sizes separately. They may differ. Verify the connector and the adapter supplied with the new blade using both the blade manufacturer's fitment guide and the vehicle instructions. A package that lists the right length can still contain an adapter that is installed incorrectly.
If the old arm is bent, heavily corroded, loose at its pivot, or contacting trim, stop. A new rubber edge will not correct an arm or linkage problem.
Prepare the windshield and work area
Park away from traffic on a calm day, switch the vehicle off, and engage the approved service position if required. Clean loose grit from the lower windshield so it cannot scratch the glass. Read the blade instructions completely and lay out the correct adapters before touching the arm.
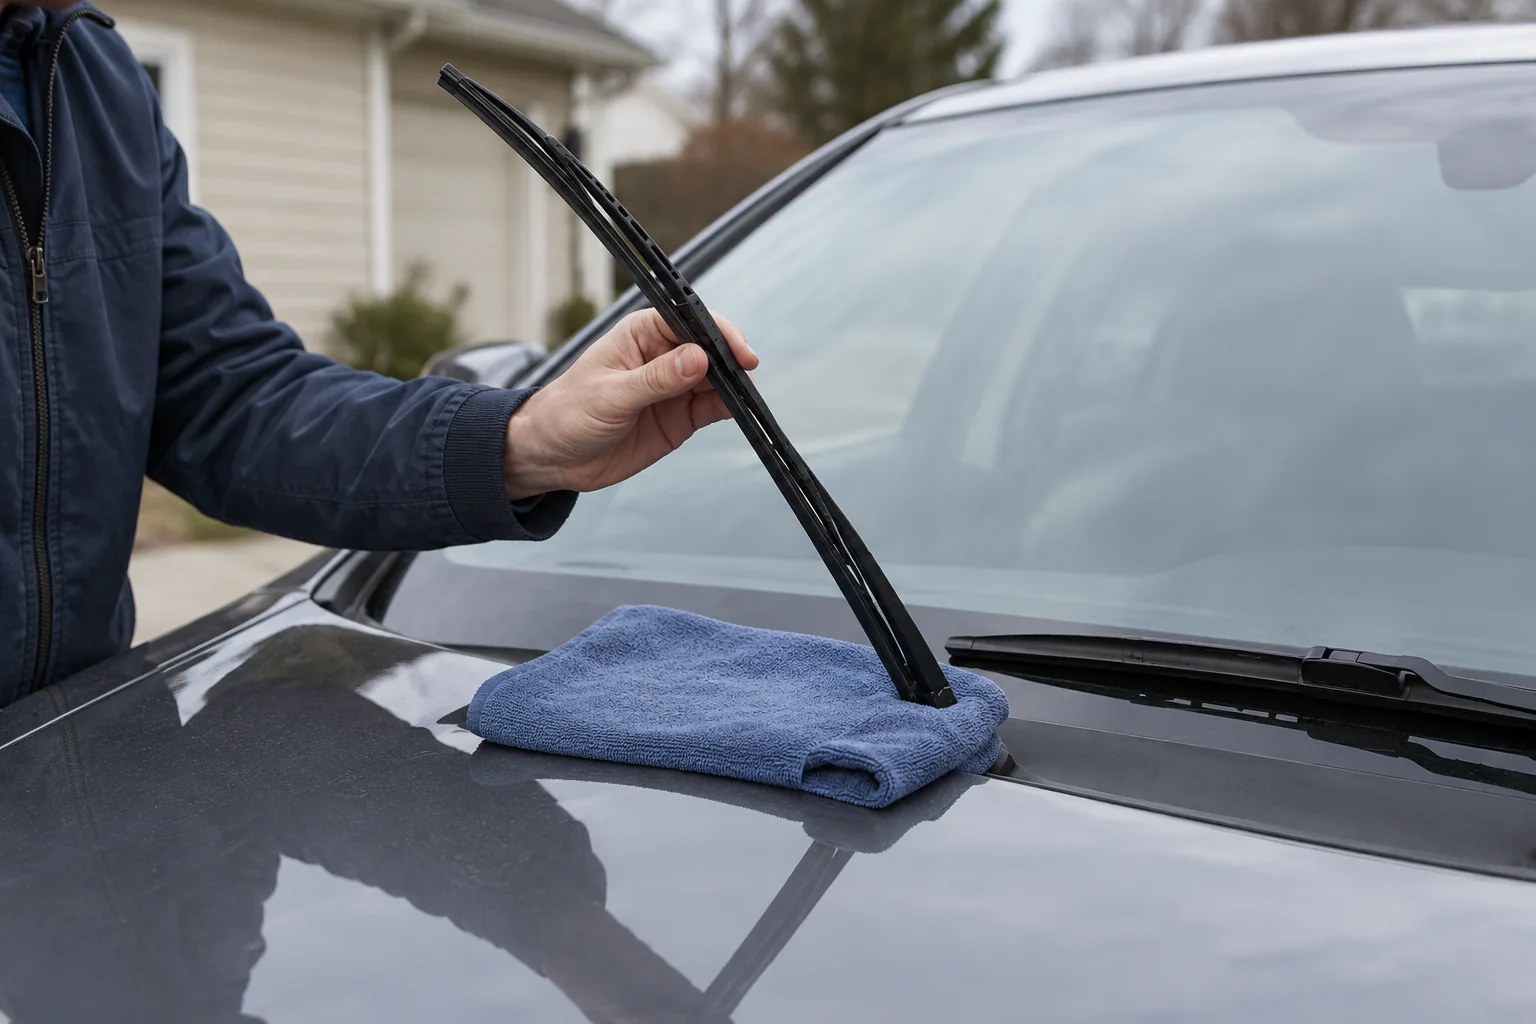
Work on one blade at a time so the installed side remains a reference. Place a folded towel on the glass under the arm's path. The towel is a secondary precaution, not a reason to release the arm. A bare spring-loaded metal arm can snap back hard enough to chip or crack a windshield.
If the arm cannot be held securely throughout the change, ask another careful person for help or schedule installation. Do not wedge the arm upright with an object that could slip.
Remove one blade using its exact connector
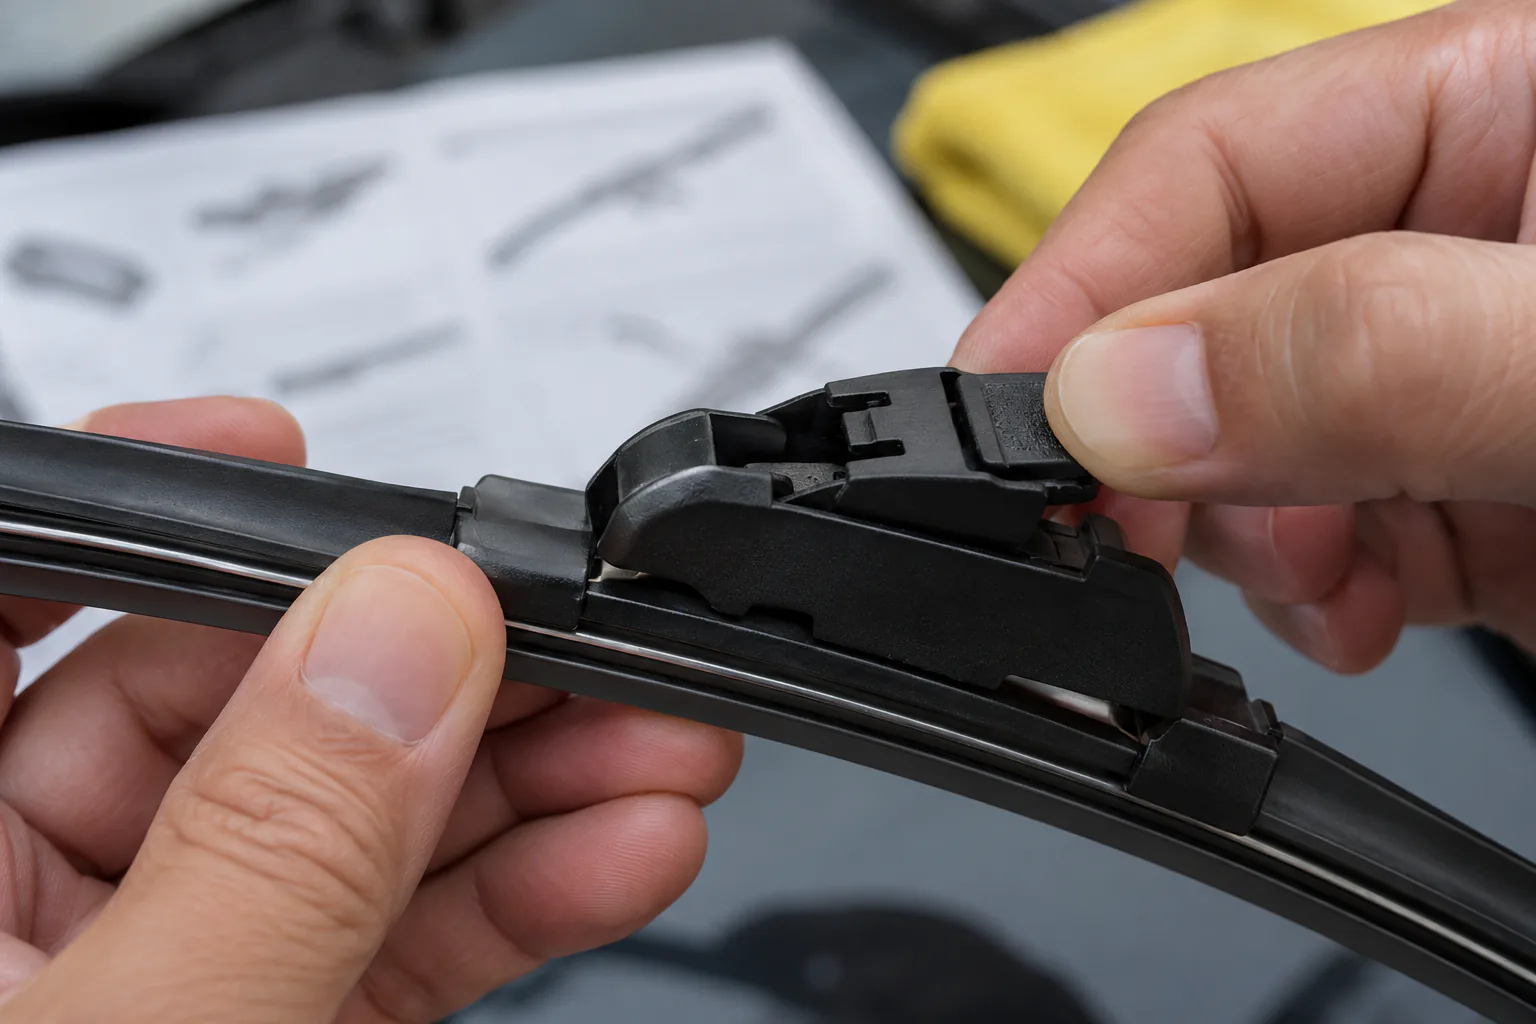
Raise the arm only as far as the manufacturer permits. Rotate the blade to the specified angle and locate the connector release shown in the blade instructions. Common connector families include hook, side-pin, bayonet, and push-button designs, but those names do not create one universal removal motion.
Support the blade close to the connector. Release the tab or lock and move the blade in the documented direction. Do not twist the arm, pry the adapter, or pull hard against an unknown stop. If it does not release, lower the assembly carefully, compare the connector to the diagrams, and verify that the correct adapter instructions are being used.
Once free, keep control of the arm. Do not leave it standing unattended. Compare the old and new blades: overall length, attachment point, adapter, curvature where relevant, and clearance features. Transfer no component unless the new-blade instructions expressly require it.
Attach and verify before lowering
Install the new blade by following the specific adapter sequence. A click can be useful feedback, but sound alone is not proof of engagement. Visually confirm that the lock or tab has returned to its secured position and that the blade cannot slide out under a gentle check described by the manufacturer.
Make sure the blade faces the same functional direction as the original and can pivot naturally at the connector. Remove protective shipping covers from the wiping edge if supplied. Keep fingers away from the pinch points between blade and arm.
Guide the arm slowly onto the windshield. Never let it fall. Then repeat the process on the other side using its own size and adapter. Rear wipers may have a different access angle, cover, or replacement method; use their separate instructions rather than copying the front procedure.
Test with a wet windshield
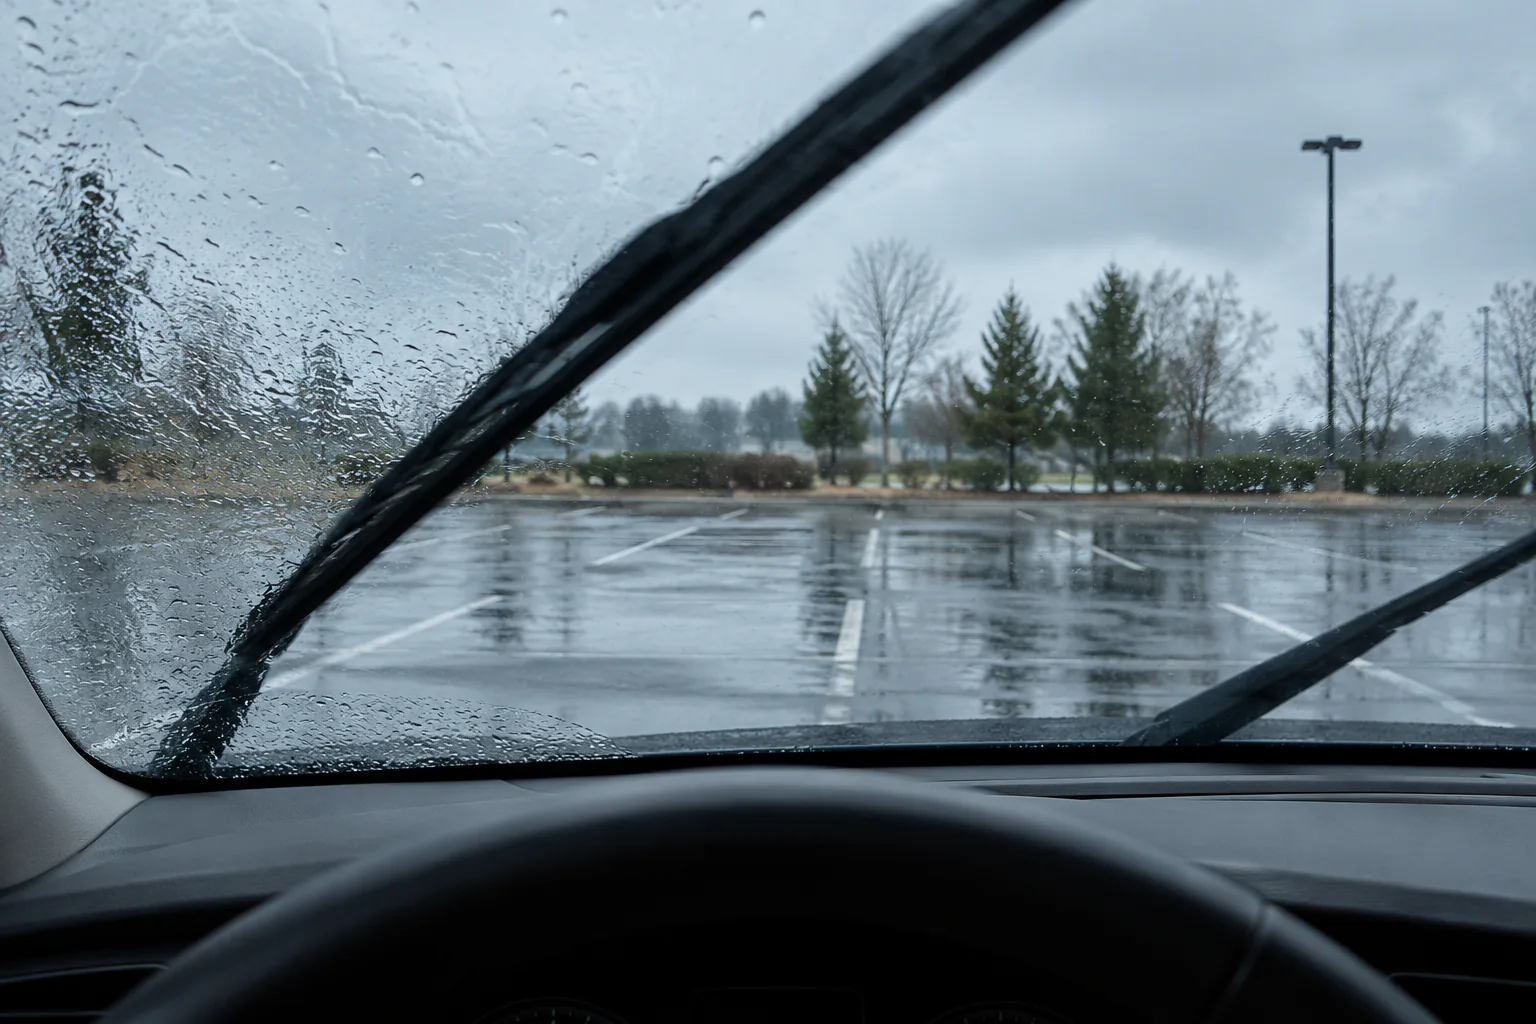
Return hidden arms from service position as the manual directs. Make sure the hood is closed and tools are removed. Wet the windshield with the washer system or another approved method before operating the wipers at low speed. A dry test can drag grit across glass and gives poor evidence of wiping performance.
Watch from inside the parked vehicle. The blades should clear their intended areas without striking each other, the cowl, hood, pillar, or trim. Look for broad unwiped zones, lifting, chatter, smearing, and a blade that reverses awkwardly. Test the washer spray and rear blade where fitted.
One or two streaks do not automatically prove wrong fitment. Clean the glass and blade edges using methods permitted by the blade and vehicle makers, then retest wet. Persistent skipping or poor contact can indicate contamination, a faulty blade, incorrect adapter seating, arm condition, or windshield damage.
Recover from a poor fit
Stop immediately if a blade loosens, an adapter rises, the arms collide, or any component contacts the body. Switch the system off in a safe position rather than trying to grab a moving arm. Recheck the application, adapter number, orientation, and locking steps.
Do not trim an adapter, bend an arm, or combine unmatched pieces to make a blade fit. Reinstall an undamaged old blade only when its correct attachment is understood; otherwise arrange professional installation before driving in conditions that require wipers.
Record the date, mileage, blade model, fitment source, and test result. Inspect blades during seasonal checks and before long trips, but replace based on condition and applicable manufacturer guidance rather than a claimed universal lifespan. Clear vision is the outcome; careful fitment and glass protection are the method.
Store proof of the exact adapter used, especially when one package contains several pieces. Discard or label unused adapters so they are not mistaken for missing vehicle parts. At the next wash, inspect the attachment again and check the wiped area in real rain when it is safe to do so. If performance changes at speed, do not experiment while driving; stop safely and arrange correction.
Cold-weather drivers should free frozen blades using the vehicle maker's method before operation. Summer drivers should examine rubber that has taken a permanent set from heat. These are inspection prompts, not fixed replacement intervals.