A road-trip check works better as a timeline than as a last-minute list. The earlier check finds problems that need parts, appointments, or a decision to use another vehicle. The departure-day check confirms that nothing important changed. Trying to compress both into the morning of travel creates pressure to ignore evidence.
There is no universal mileage that defines a long trip. Use this process whenever distance, weather, load, passengers, unfamiliar roads, or limited service access would make a breakdown more consequential.
Define the trip before checking the car
Write down the route, expected weather, road type, elevation, distance between fuel or charging stops, mobile-coverage gaps, passenger needs, luggage or trailer load, and availability of service. Check road restrictions and alternate routes. Share the route and estimated arrival time with someone not traveling.
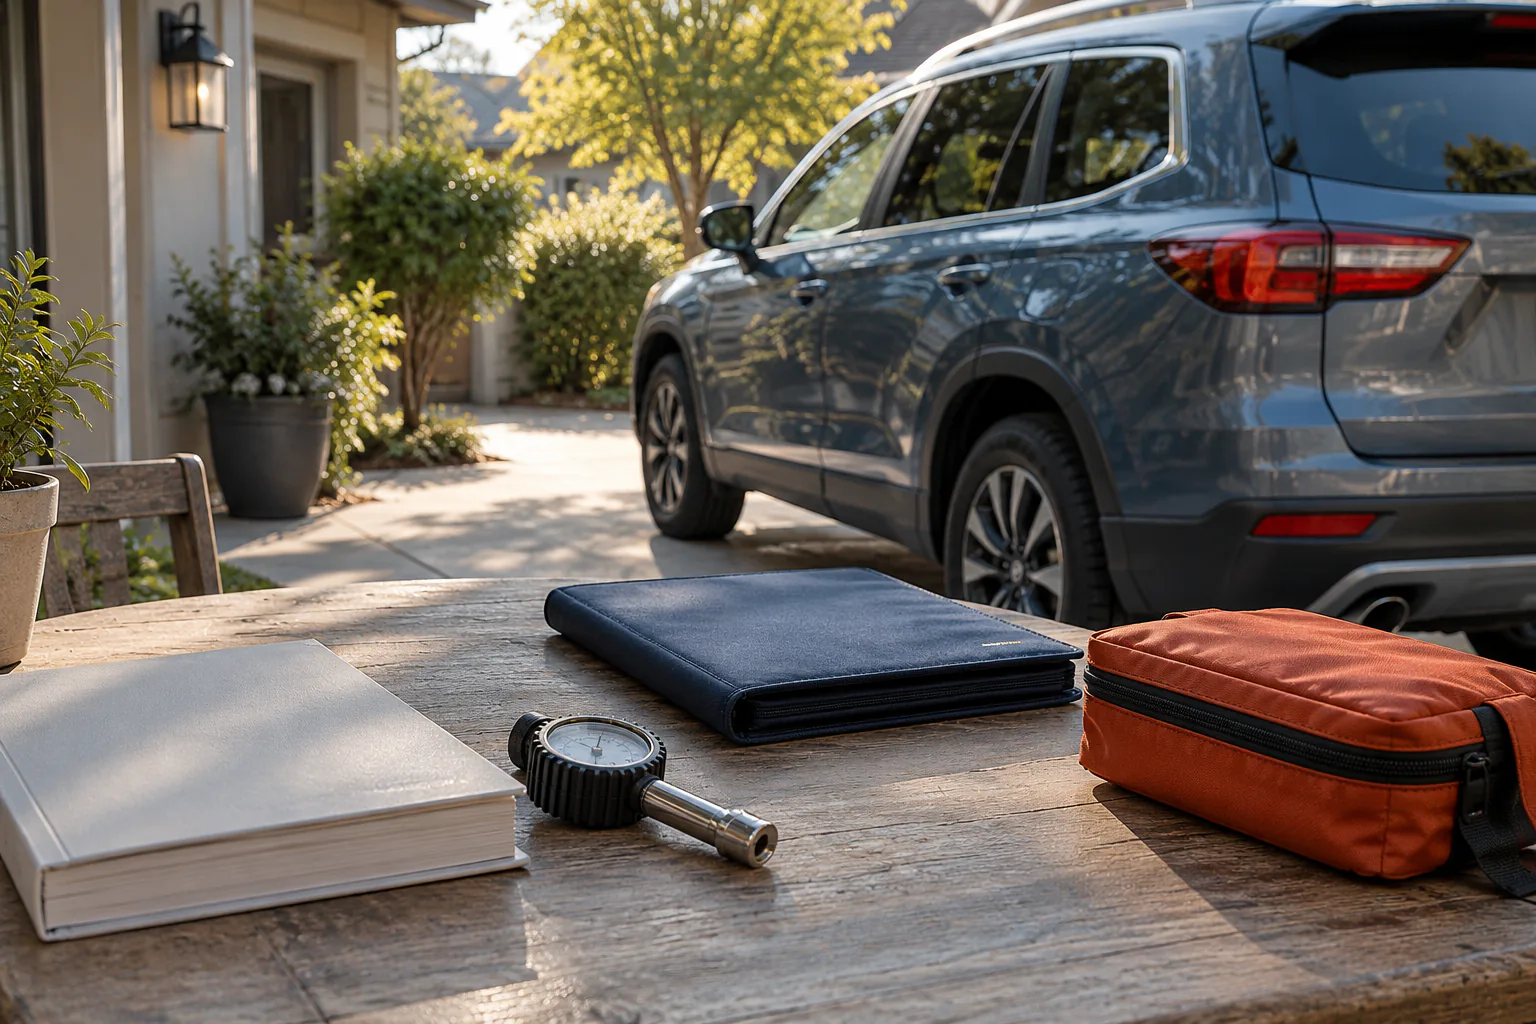
Confirm the vehicle is suitable for the planned load and towing requirement. Use the tire and loading label, owner's manual, hitch or trailer documentation, and applicable laws. Do not infer capacity from cargo space or how the vehicle feels when parked.
Seven to fourteen days ahead: create repair time
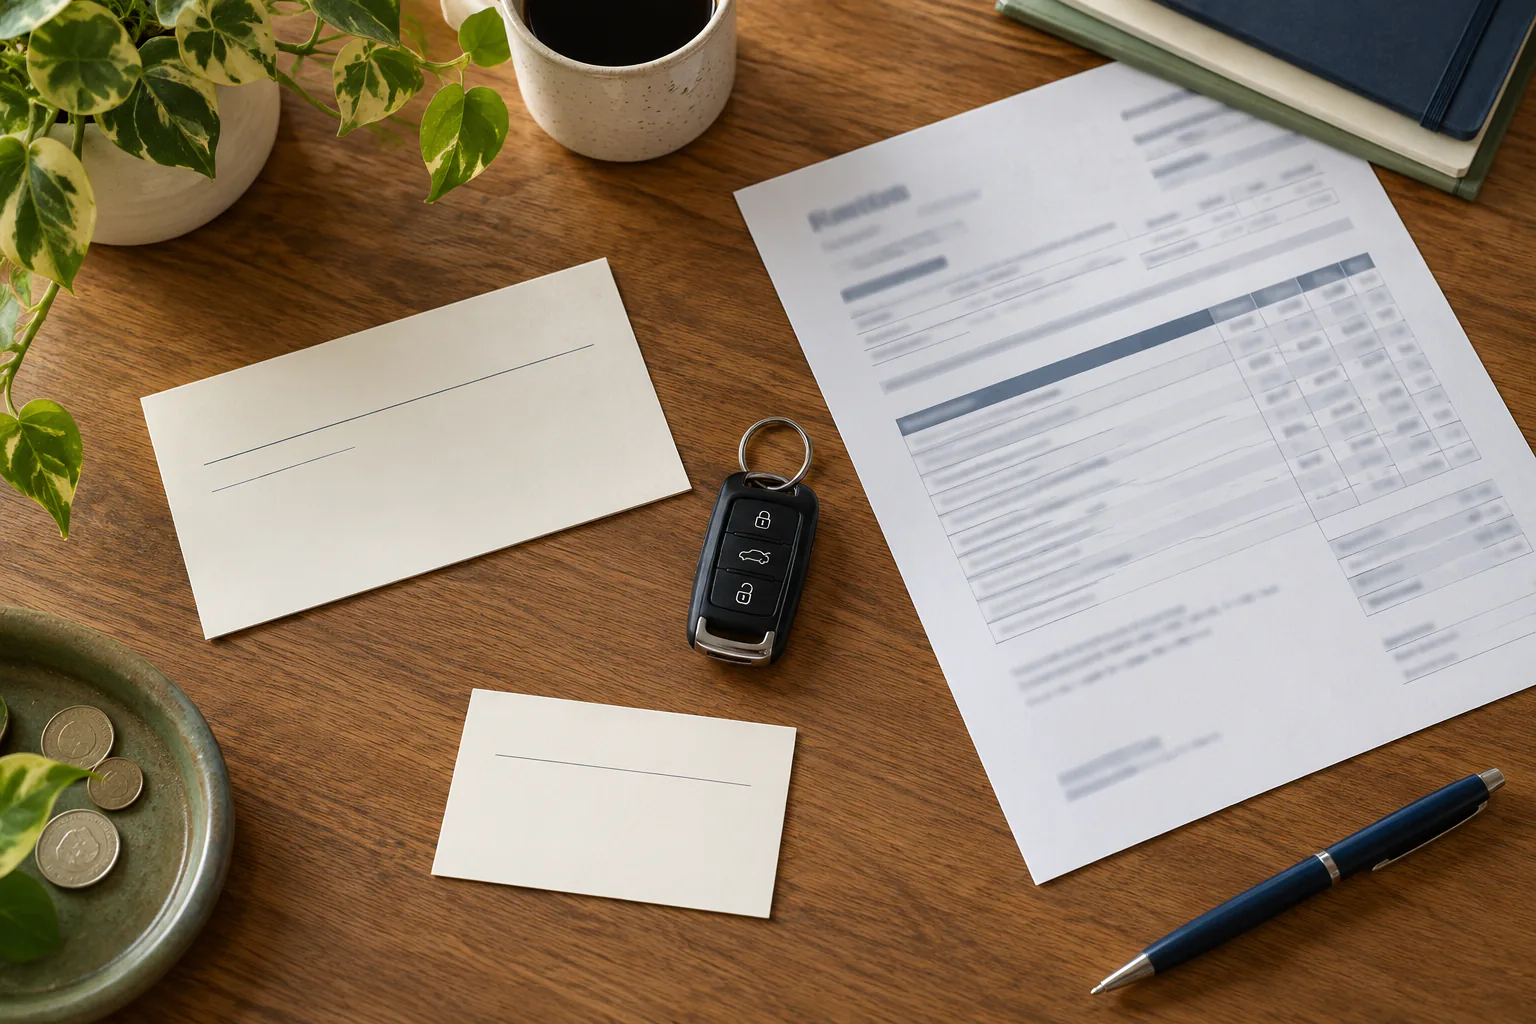
Review the manufacturer maintenance schedule and the vehicle record. Identify items due before or during the trip using the actual date, mileage, reminder logic, and operating conditions. Do not order a generic “road-trip service package” without mapping each item to manufacturer requirements or current evidence.
Check open safety recalls using the VIN or supported lookup method. Recall repair is generally handled through the manufacturer network, so allow time for confirmation and scheduling.
Record every warning light or message exactly. A lamp that turned off is still relevant history. Resolve critical warnings and investigate persistent check-engine, brake, charging, tire-pressure, restraint, steering, or temperature concerns according to the manual. Do not clear codes just to make the dashboard quiet.
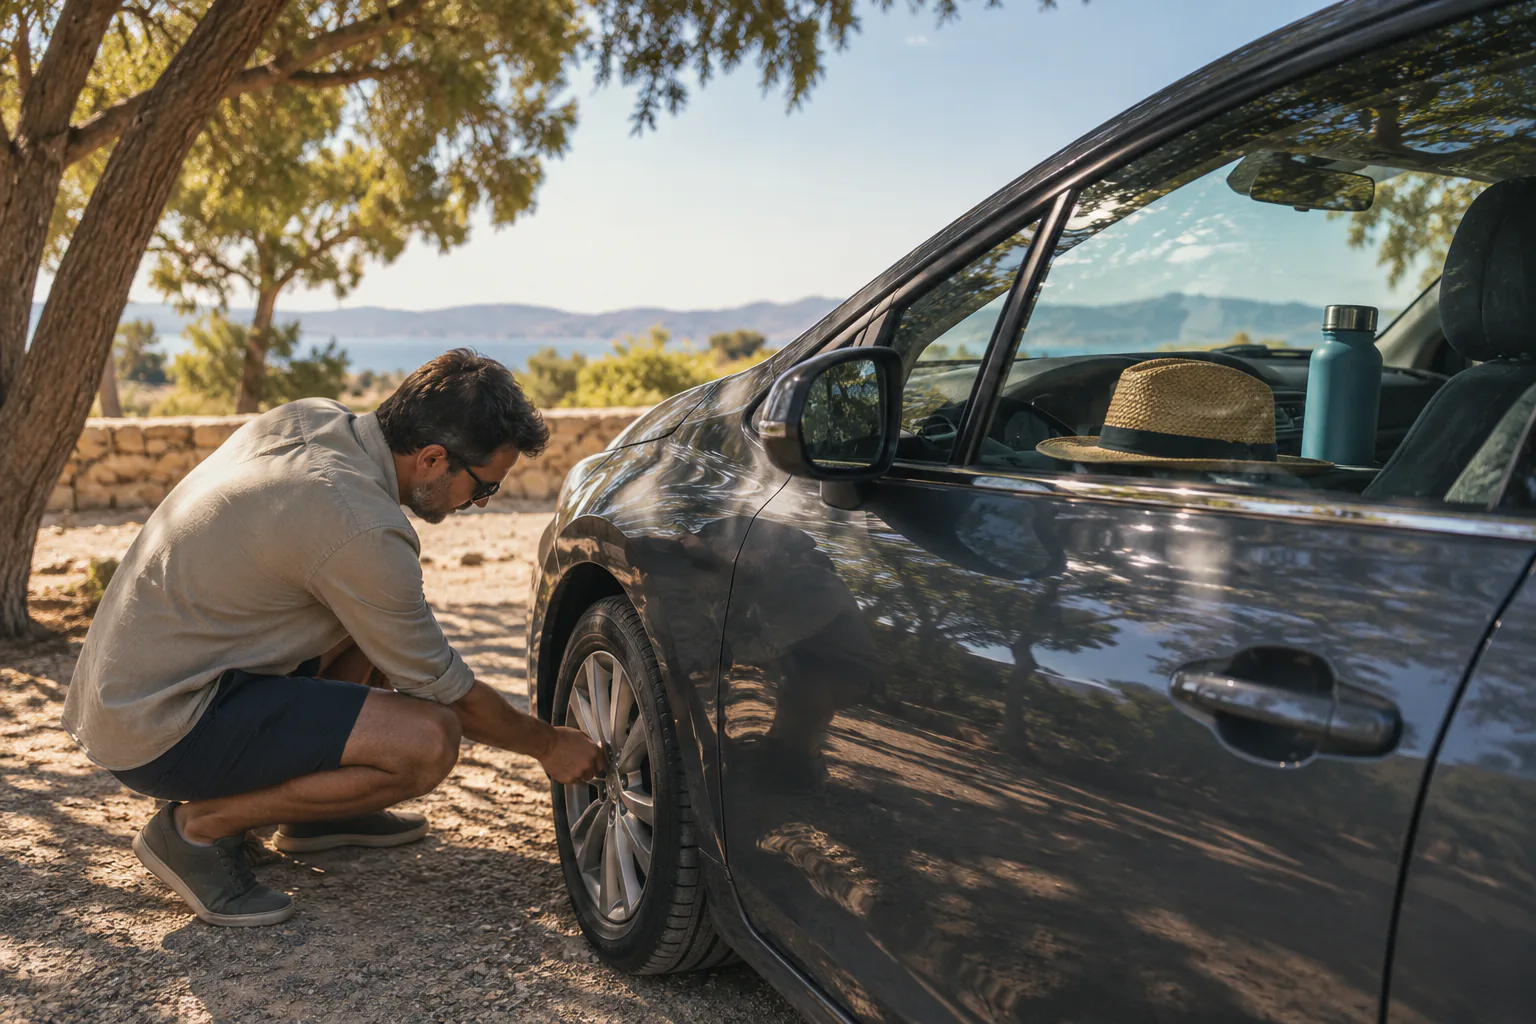
Inspect cold tire pressure, tread depth, sidewalls, and recurring pressure loss. Include the spare where fitted, or verify the inflator and sealant system, expiry, and damage limits. Uneven wear, a bulge, exposed material, or an embedded object needs professional evaluation; pressure correction alone does not prove the tire is trip-ready.
Look for recurring puddles or wetness and document location, amount, color, timing, and associated symptoms. Check engine oil, coolant, washer fluid, and other owner-checkable fluids only by the model-specific procedure. Never open a hot cooling system or top up an unidentified reservoir.
Note braking, steering, suspension, battery, starting, cooling, air-conditioning, heating, and visibility concerns from ordinary recent use. The pre-trip check is not a special road test. If braking feel, steering control, temperature, vibration, odor, or noise has changed, schedule diagnosis instead of testing it farther from home.
Evaluate service recommendations
Ask a repair facility to separate safety-critical findings, manufacturer-scheduled maintenance, measured wear, active leaks or faults, and optional preventive work. Request measurements, service limits, scan results, photos, or test findings where appropriate.
FTC guidance supports asking questions, getting a written estimate, and understanding authorization and warranties. A second opinion can be useful for a large or unclear estimate, provided there is enough time and the vehicle is safe to move. Do not postpone an urgent condition simply because the explanation was poor; arrange a clearer inspection or transport.
After any repair, leave time for the recommended verification or a normal local drive. Confirm no new warning, leak, vibration, noise, or loose component appeared. A major repair completed hours before departure provides little time to catch a workmanship or parts issue.
Two to three days ahead: verify condition and supplies
Recheck cold tire pressures and visible condition. Confirm lights, brake lights, turn signals, hazards, wipers, washers, mirrors, glass, and license plates. Wet the windshield for a wiper test. Make sure the floor mat is secured and cannot interfere with pedals.
Verify the spare or inflator system, supplied tools, wheel-lock key if used, charging cable, and roadside contact information. Carrying a jack does not mean a roadside tire change is safe; traffic, ground, slope, weather, and training control that decision.
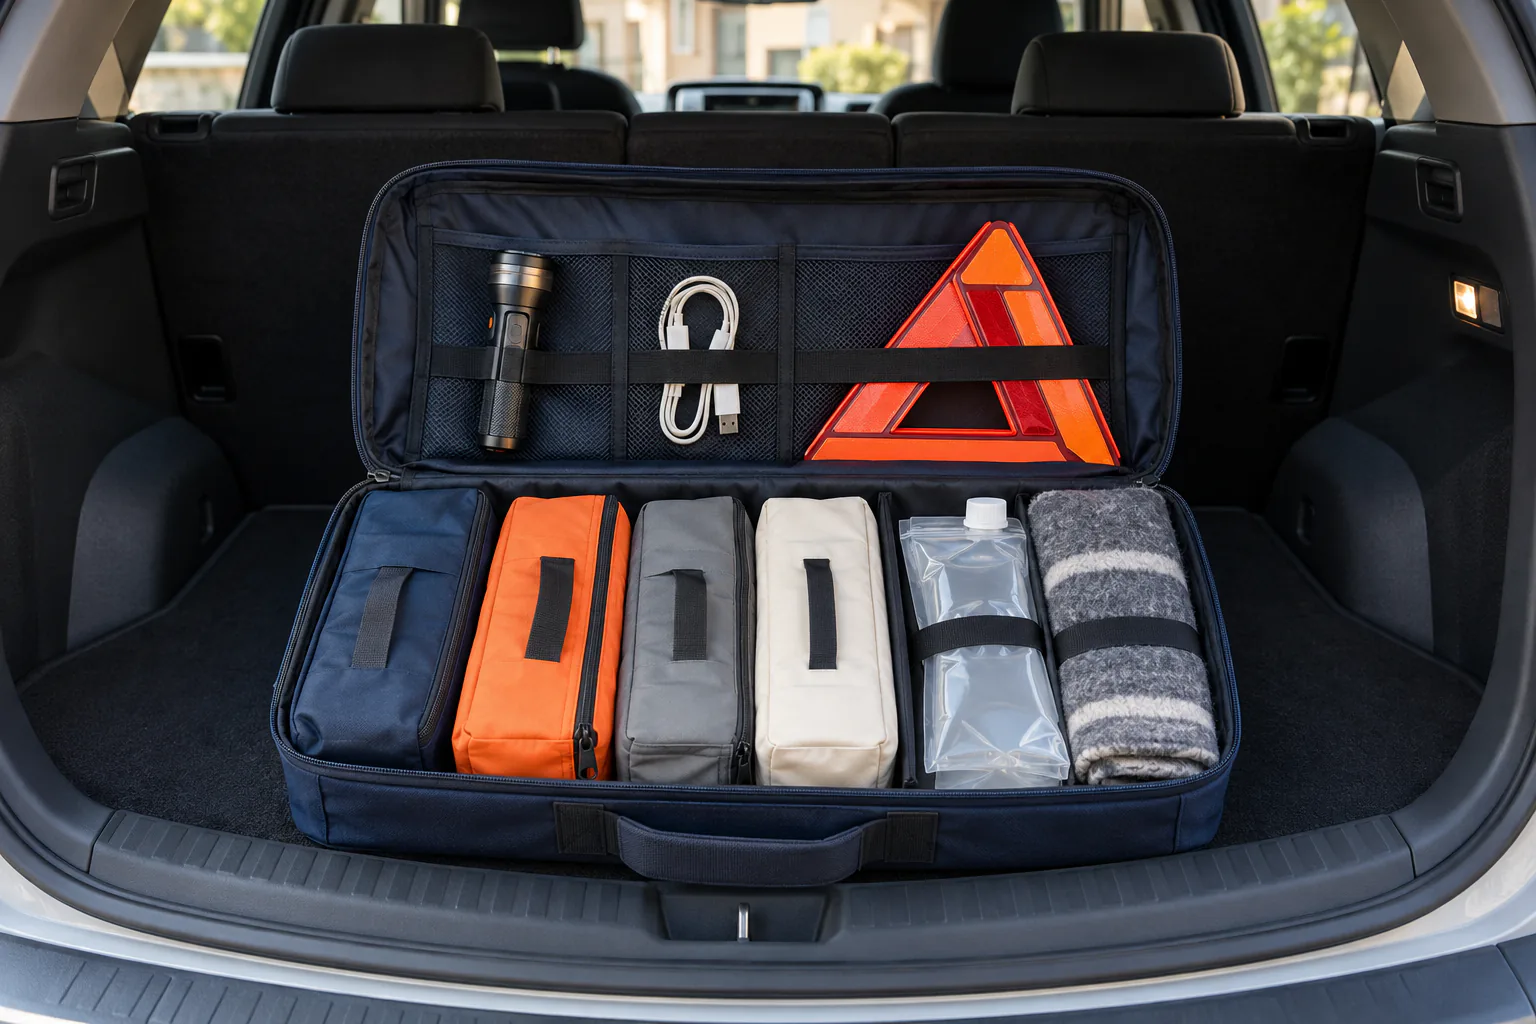
Build the emergency kit around the route, climate, and passengers: charged communication, light, reflective warning equipment, first-aid supplies, water and food planning, appropriate clothing, and necessary medicine stored according to instructions. Add winter or hot-weather modules rather than hauling unrelated equipment.
Check registration, insurance evidence, charging accounts or payment methods, accommodations, and any border or road documents. Download maps and contact details for offline access. Secure luggage so it cannot shift, obstruct sight lines, or become a projectile.
Departure day: make a short confirmation
Do not repeat a full service. Walk around the vehicle in daylight if possible. Check cold tire pressures, visible tire damage, the ground for fresh leaks, body or glass damage, and that doors, hood, hatch, roof loads, and trailer connections are secure.
Start the vehicle and observe the expected dashboard self-check. Record any new message or light and use the manual before deciding to go. Confirm fuel or state of charge, route, weather, closures, phone power, and that every passenger has the correct restraint.
Do not begin a new complex repair on departure morning. If a critical warning, damaged tire, fresh significant leak, overheating evidence, changed braking or steering, smoke, fuel odor, or unsafe load appears, delay and obtain help.
At the first safe stop, look for change

After the first portion of the trip, observe rather than dismantle. Note new warnings, odor, smoke, vibration, pulling, unusual noise, temperature change, or a shifted load. Walk around only in a safe parking area. Look for a tire that appears different, a loose exterior item, or fresh leakage.
Do not bleed warm tires to the cold placard pressure. Do not reach into a hot engine bay or open a pressurized cap. If something changed, document it and use the manual, roadside assistance, or a qualified facility. The first stop is an early comparison point, not an invitation to improvise repairs.
Decide: go, delay, or stop
“Go” means no unresolved safety evidence, the vehicle and load fit the route, and required equipment and passenger plans are ready. “Delay” means a condition needs clarification, service, better weather, different equipment, or another vehicle. “Stop” means a warning or symptom makes continued operation unsafe or the manual directs immediate action.
No checklist guarantees a breakdown-free trip. Its value is timing: find fixable problems while choices remain, confirm condition immediately before travel, and respond to changes before they become larger. For seasonal differences, use the summer-versus-winter comparison; for individual systems, follow the dedicated tire, fluid, battery, warning-light, and emergency-kit guides.