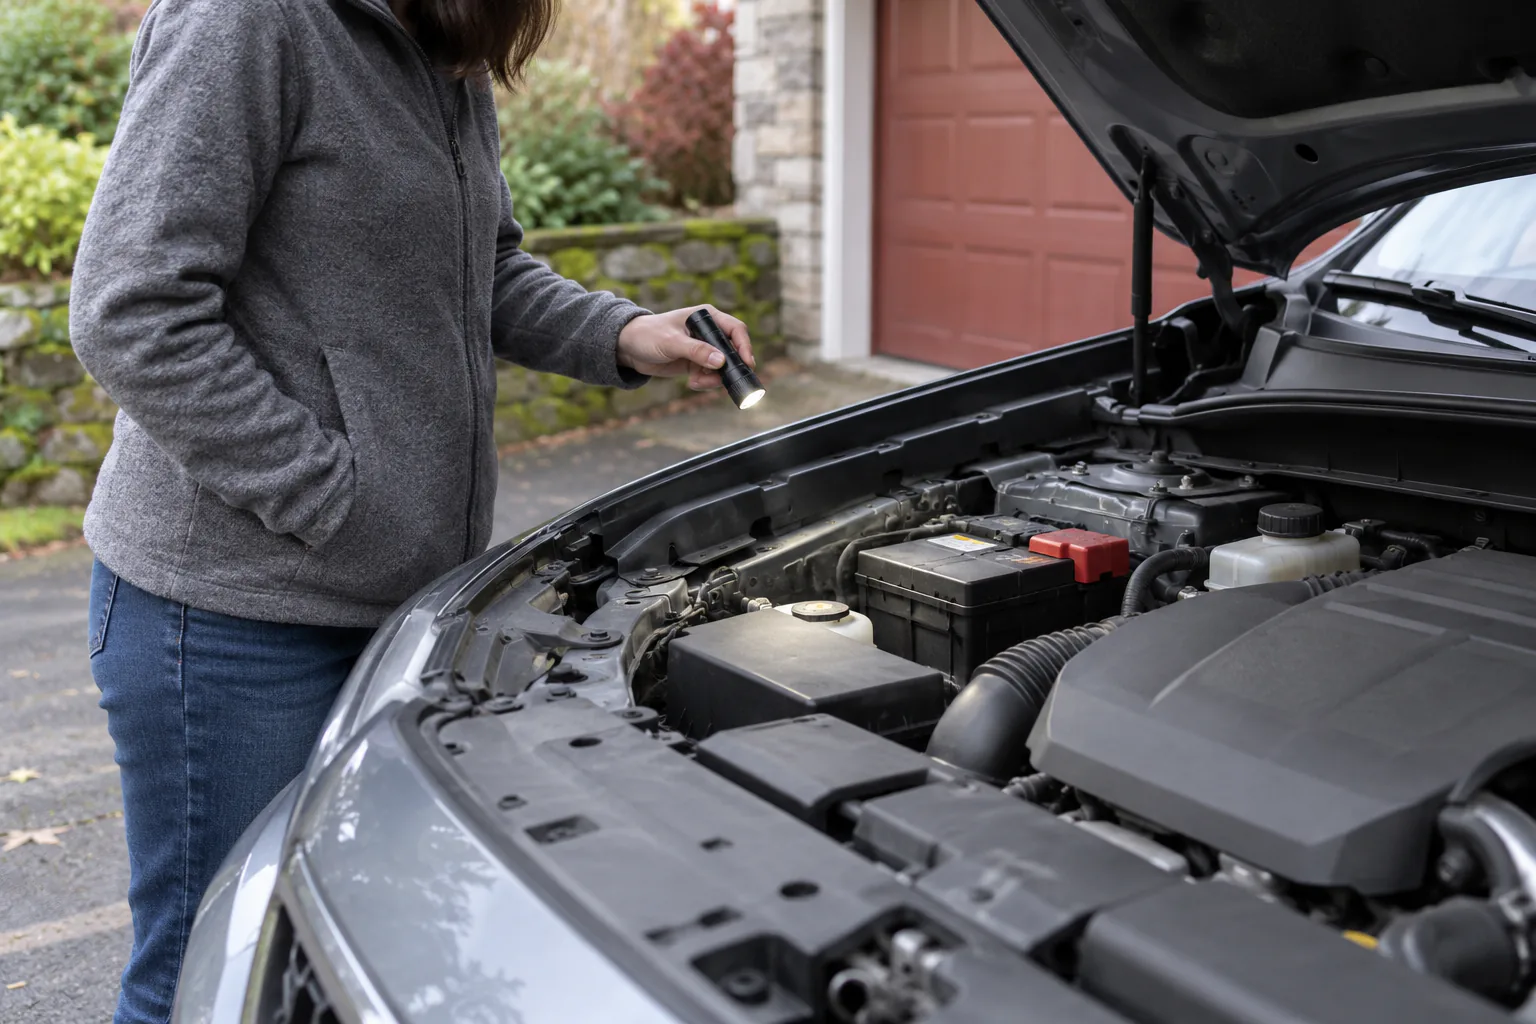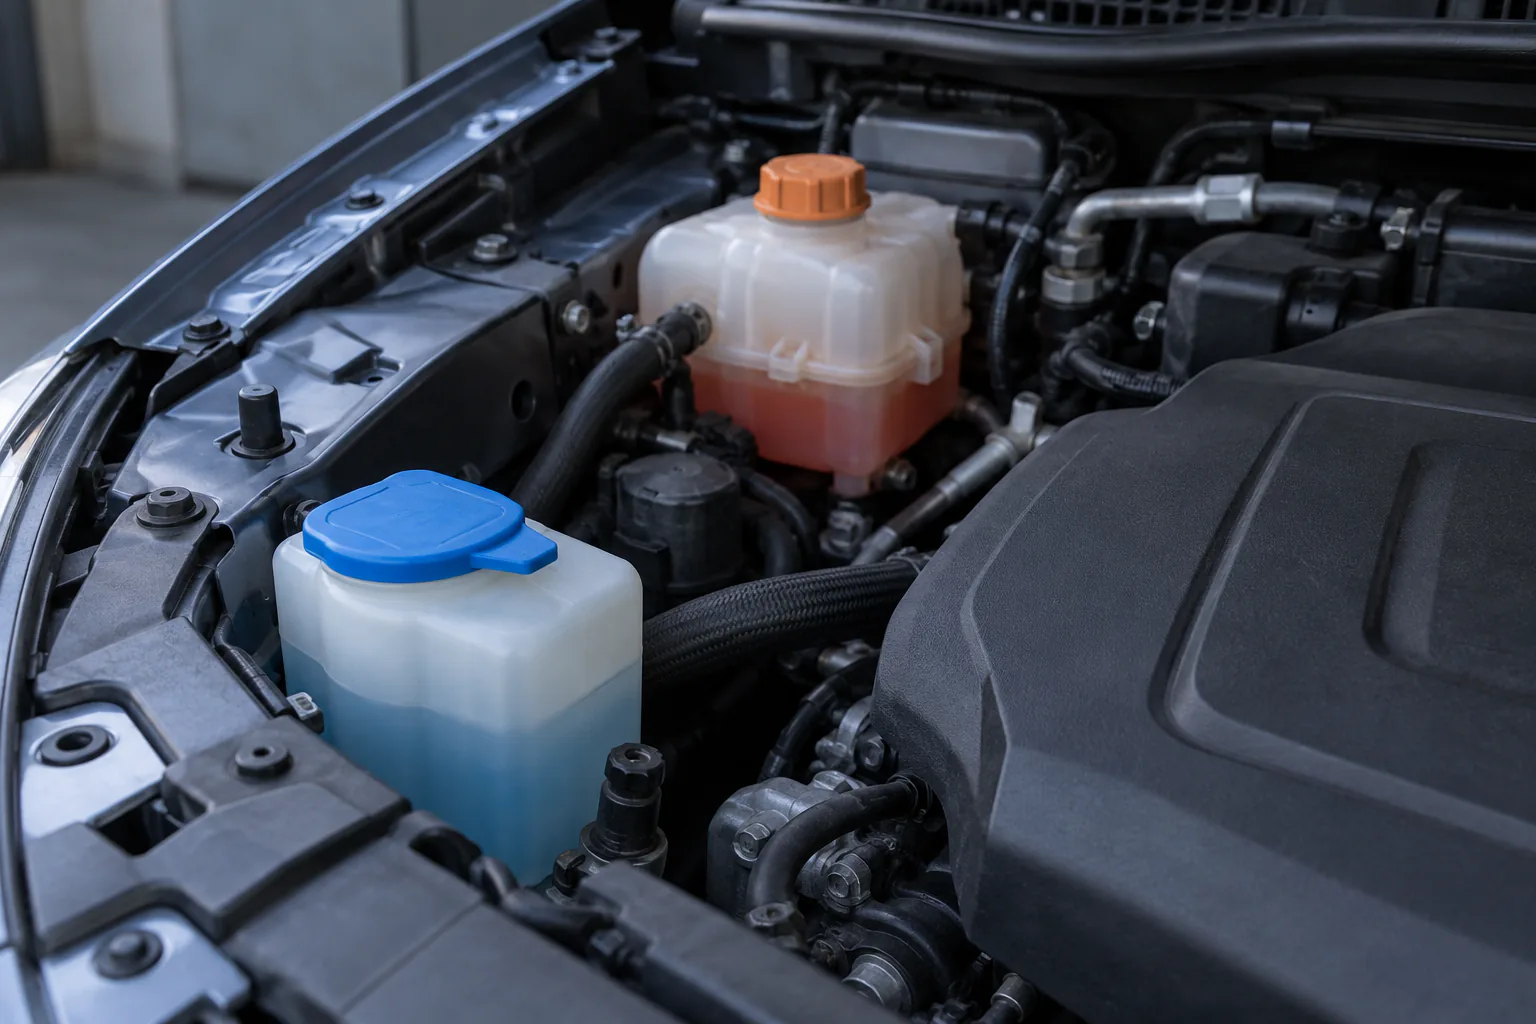
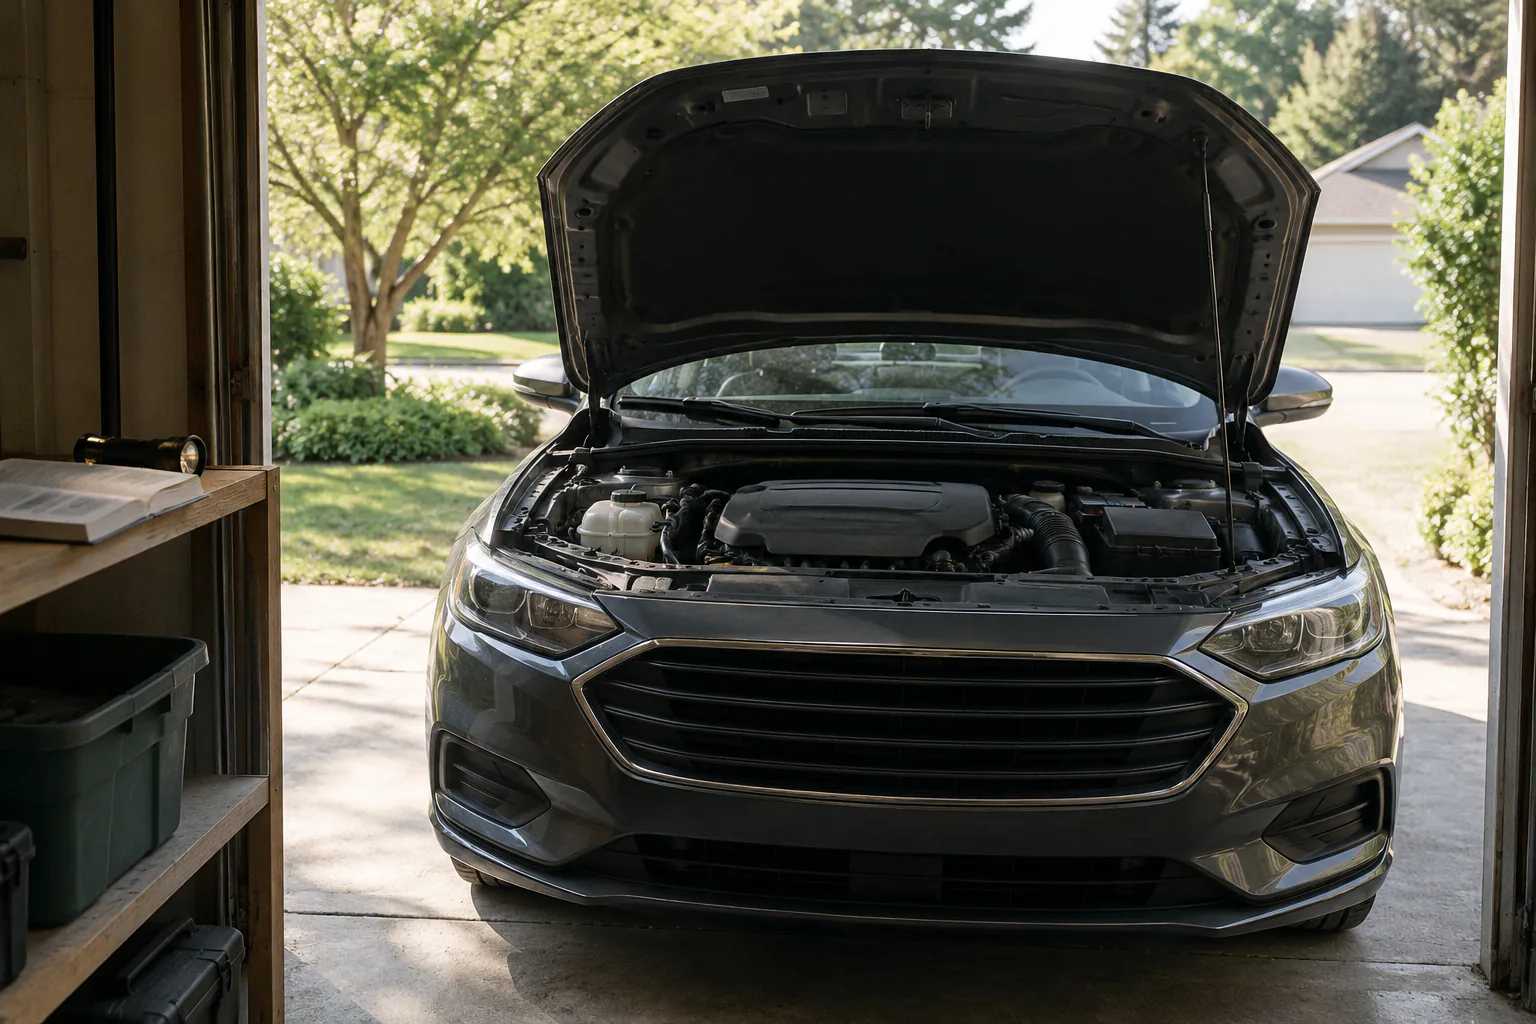
A no-tools engine-bay check is an observation exercise, not a certification that the vehicle is healthy. The safe route moves from the perimeter inward without touching, opening, removing, or diagnosing. If the manual does not identify a component as owner-accessible, leave it alone.
Park on level ground, apply the parking brake, switch the vehicle fully off, and wait until the engine bay is cold. Remove jewelry, secure clothing and hair, and keep children away. Electric fans can start unexpectedly; hybrids and electric vehicles contain high-voltage systems that remain hazardous when the car appears off.
Begin with the manual and the hood
Read the hood-opening and support instructions. Some vehicles use a prop rod; others use struts. Confirm the hood is stable before leaning near the opening. In strong wind, poor lighting, traffic, or an unstable location, postpone the check.
Compare the engine-compartment diagram with what you see. Locate only labeled owner-check points such as washer fluid, coolant reservoir, oil dipstick or display reference, fuse box, 12-volt battery or remote terminals, and air-filter housing where applicable.
Do not remove decorative or high-voltage covers to make the diagram easier to match.
Scan from the outside edge
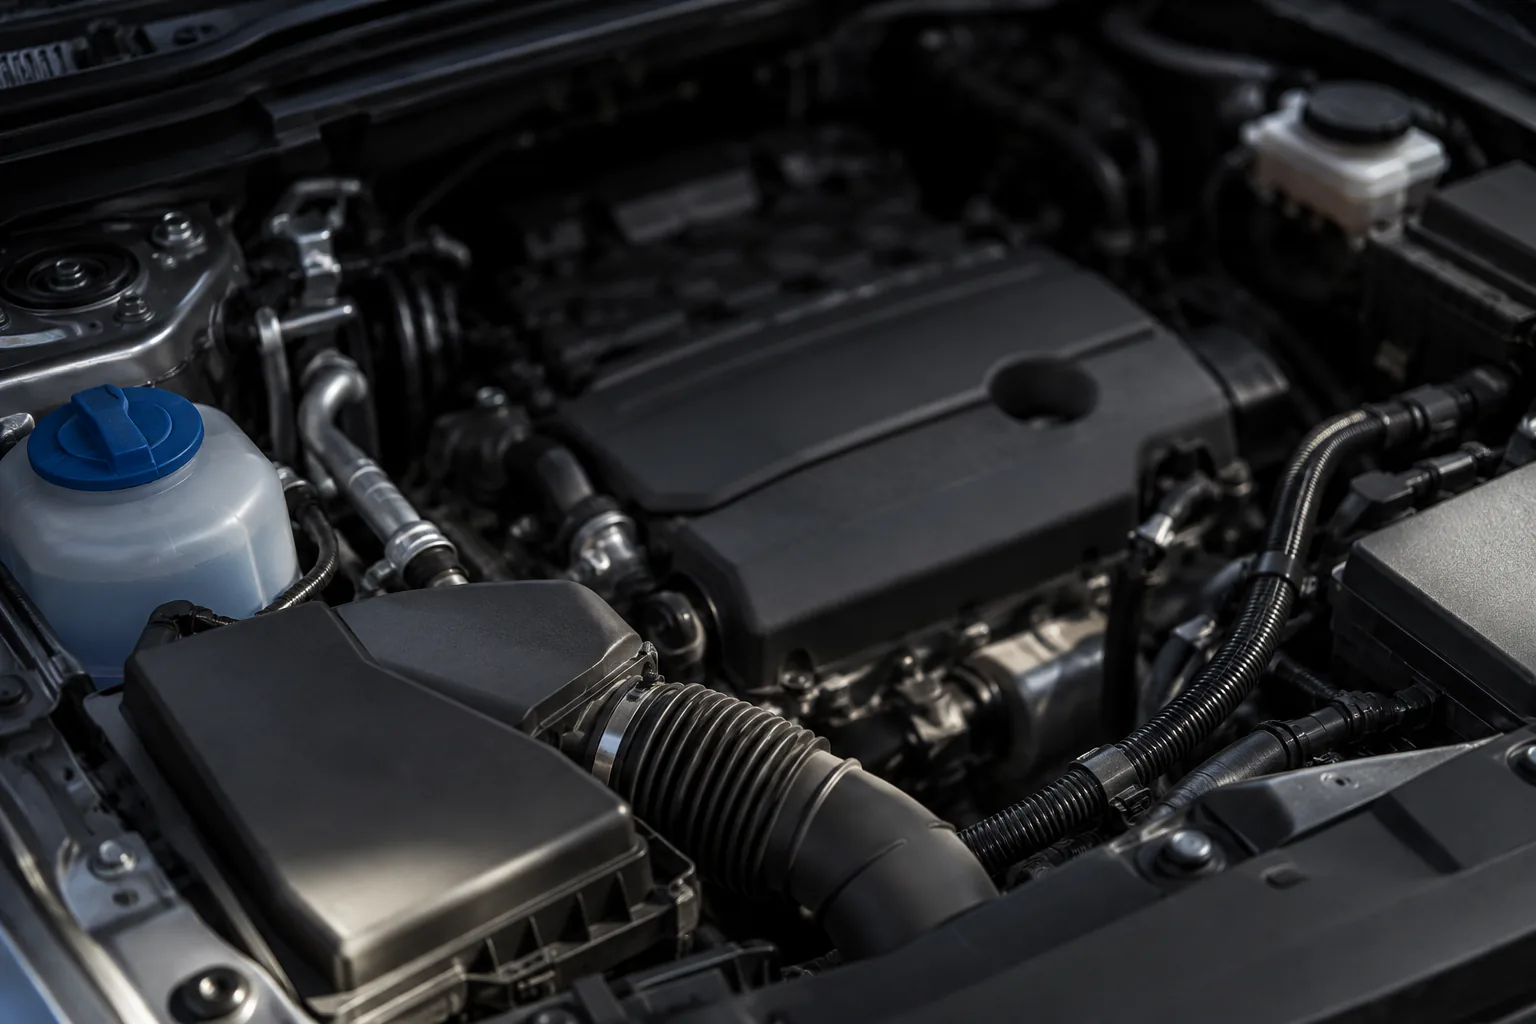
Look along the ground and lower visible areas for fresh wetness, staining, residue, or debris. Check whether leaves, nesting material, or plastic bags are near hot components or air inlets. Do not reach behind shields or beneath the vehicle.
Observe wiring and hoses for obvious displacement, abrasion, rodent damage, or contact with a moving or hot part. Orange high-voltage cables are strictly no-touch. A damaged harness, exposed conductor, fuel odor, or active leak requires qualified evaluation.
Check visible reservoirs without opening hot systems
Identify each reservoir by cap symbol, label, and manual location. Read visible level marks only under the specified cold or operating condition. Washer fluid and coolant follow different rules. Brake-fluid or power-steering reservoirs, if present and owner-visible, should not be treated as routine top-up containers without understanding why the level changed.
Never open a hot cooling-system cap. Do not use color as the only fluid identifier. If a reservoir is empty, repeatedly low, stained, or surrounded by residue, record it and seek guidance before adding an unknown product.
Observe the 12-volt battery area
If accessible, look for a secure case, intact cables, dry surfaces, and absence of heavy corrosion or swelling. Do not twist terminals, bridge them with a tool, or touch leaked material. Some batteries are remote or covered, and some vehicles require special replacement registration or charging procedures.
Keep the high-voltage traction battery outside this check. Do not open marked enclosures or probe cables.
View belts, hoses, and intake components
From the perimeter, note missing belt ribs, fraying, glazing, contamination, hose swelling, abrasion, collapsed sections, or crusted residue. Do not touch a belt, pulley, fan, or hose and never inspect them with the engine running.
Check that visible air-intake ducts and housing clips appear seated. Do not open the housing unless following a separate owner-approved filter procedure. An unlatched box, disconnected duct, or loose connector should be corrected by an appropriate procedure before starting.
Notice signs of heat, leaks, and recent work
Look for melted plastic, dark heat marks, oil or coolant residue, missing fasteners, loose caps, forgotten rags, or tools. After professional work, a wide photograph taken before the first drive can document the returned condition without accusing the provider of a cause.
Odor can add urgency but should not be sampled deliberately. Fuel, burning insulation, smoke, or steam calls for distance and professional help. A clean appearance does not rule out internal, intermittent, or covered faults.
Use zones to avoid wandering hands
Divide the view into five zones: hood and cowl, left perimeter, front perimeter, right perimeter, and center. In each zone, look for change from a baseline photograph. This method reduces the temptation to reach across hot or moving systems and makes the record easier to compare.
At the hood and cowl, notice blocked air inlets, damaged weather seals, loose insulation, and nesting material. At the side perimeters, look for displaced wiring, reservoirs, battery condition, and wetness. At the front, stay clear of fans and inspect only visible radiator-area debris or damage. In the center, observe caps, covers, ducts, and obvious residue without removing anything.
If a component is hidden, mark it hidden. If the diagram and vehicle do not match, stop and confirm model year, powertrain, and document. An engine-bay photograph from a different trim or market is not a safe substitute.
Turn observations into three outcomes

No change observed: record the date and move on. This does not certify internal condition.
Verify soon: use for a loose clip, mild new residue, low but not empty owner-checkable fluid under the correct conditions, or a recurring non-urgent observation. Consult the manual or arrange inspection.
Stop and escalate: use for fuel odor, smoke, steam, active major leakage, damaged high-voltage parts, exposed wiring, unstable hood support, overheating, or any manual instruction to stop. Close the hood only if safe and move away from the hazard.
These outcomes prevent two extremes: ignoring visible change and turning every speck of dust into a diagnosis.
Close with a verification walk
Confirm every cap you were authorized to open is secured, the dipstick is seated, no funnel or material remains, and the hood prop is returned correctly. Lower and latch the hood using the manual's method, then verify it is secure.
Record date, mileage, engine state, observations, photographs, and next action. Separate “not visible” from “looked normal.” The first is a limitation; the second is an observation at one moment, not a guarantee.
Escalate rather than explore
Stop the check for a hot or pressurized system, high-voltage uncertainty, fuel odor, smoke, active leak, damaged wiring, unstable hood, animal presence, or any need to place hands near moving parts. If a warning or serious symptom led to the check, follow the manual instead of continuing exploration.
The value of a no-tools check is disciplined attention: know the layout, see change early, preserve evidence, and respect what cannot be judged visually. It should make the next decision clearer without turning the driveway into a workshop.
Repeat the same route under similar cold conditions. Consistency makes change easier to see and keeps the check short enough to become a useful habit rather than an improvised repair session.
Keep the baseline image private if it includes a VIN or personal label. Share only the cropped component view needed for a service conversation.